Other Parts Discussed in Thread: DLP5531LEQ1EVM
Hi,
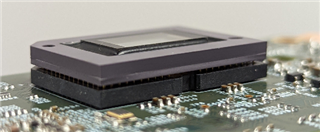
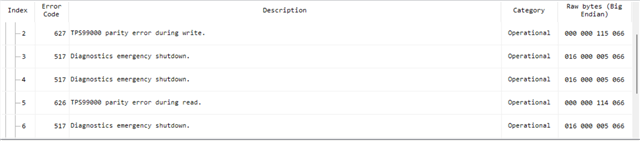
we purchased a DLP5531-Q1 evaluation kit. we flashed the firmware and get this error when we start up the system. We connected the system as per the instructions. What could be the issue?
Hi,
we purchased a DLP5531-Q1 evaluation kit. we flashed the firmware and get this error when we start up the system. We connected the system as per the instructions. What could be the issue?