This thread has been locked.

If you have a related question, please click the "Ask a related question" button in the top right corner. The newly created question will be automatically linked to this question.

DRV8889-Q1EVM: Motor Control options in GUI - DRV8889-Q1 EVM

Part Number: DRV8889-Q1EVM

Hi Rick, 

My DRV8889-Q1 EVM got delivered today, I am making an initial setup to drive my motor. I have some questions: 

1. To drive the motor uisng MSP430 onboard, do I have to supply 3.3V to the first pin on J3 header?


2. If I decide to use a external controller (Beagle Bone in my case) what are the steps I need to follow? I found the below text in the user manual for using external micro, but how do I remove the resistors from the PCB?

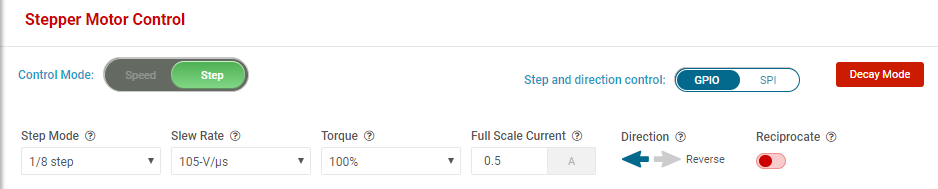
3. For driving the motor in the step mode configuration, what are the absolute necessary parameters I need to configure from the GUI(for just spinning the motor demo)? 

4. In the GUI,we have two options for "Step and Direction Control"- GPIO, SPI, which to use when?

I look forward to your response. 

Thank you,

Arshiya Tabassum

  • Arshiya,

    1. If drive the motor uisng MSP430 onboard, you don't need to supply 3.3V to the first pin on J3 header. the 3.3V can be supported either from USB port via

    FT232RL's 3.3V output or a 3.3V onboard LDO.

    2. Please use a solder iron to remove onboard resistor.

    3. For driving the motor in the step mode configuration, all parameters need to configure from the GUI for your motor. Please check the motor current rating and set correct the full scale current. And then, keep other parameters as default value until you find any issue.

    4.In the GUI, please use GPIO for "Step and Direction Control".


  • Hi Wang, 

    Thank you for the response! 

    I have few questions related to your response, highlighted in Red color:

    1. If drive the motor uisng MSP430 onboard, you don't need to supply 3.3V to the first pin on J3 header. the 3.3V can be supported either from USB port via

    FT232RL's 3.3V output or a 3.3V onboard LDO. - I am using the mini USB cable provided in the kit to power up my DRV8889-Q1EVM, that will take care of the 3.3V right when the USB is connected to my PC.


    3. For driving the motor in the step mode configuration, all parameters need to configure from the GUI for your motor. Please check the motor current rating and set correct the full scale current. And then, keep other parameters as default value until you find any issue. - My motor has a current rating of 550mA, The full scale current in the GUI should be how much percentage less than this value(550mA) so that I dont burn the motor?


    Thank you,

    Arshiya Tabassum

  • Arshiya,

    "I am using the mini USB cable provided in the kit to power up my DRV8889-Q1EVM, that will take care of the 3.3V right when the USB is connected to my PC."

    Yes.

    "My motor has a current rating of 550mA, The full scale current in the GUI should be how much percentage less than this value(550mA) so that I dont burn the motor?"

    Yes. 0.5A Full scale current won't burn a 550mA current rating motor.