This thread has been locked.

If you have a related question, please click the "Ask a related question" button in the top right corner. The newly created question will be automatically linked to this question.

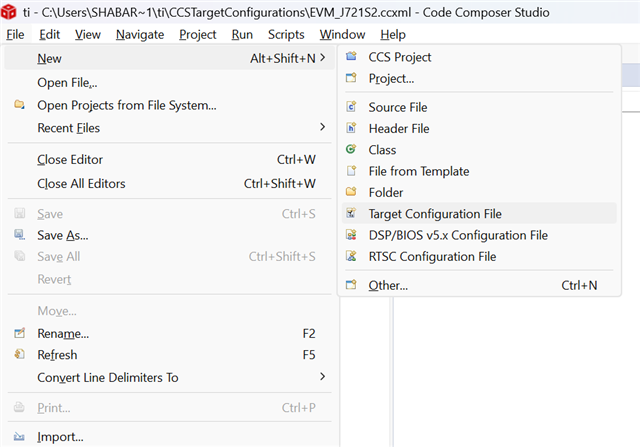
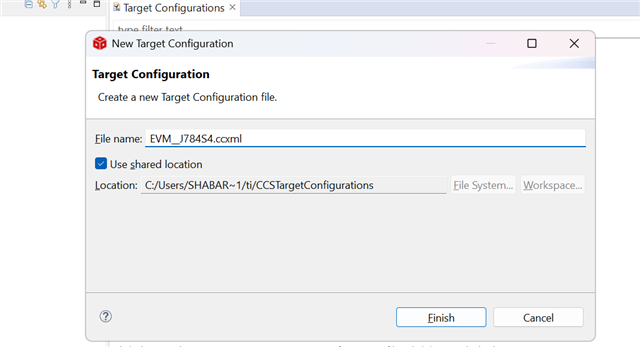
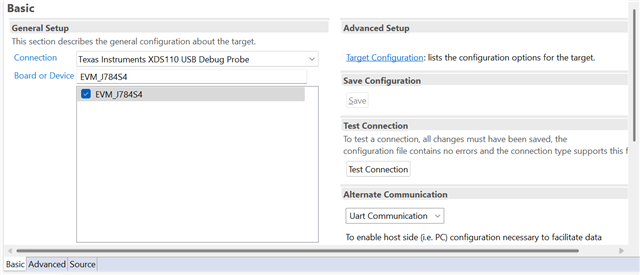
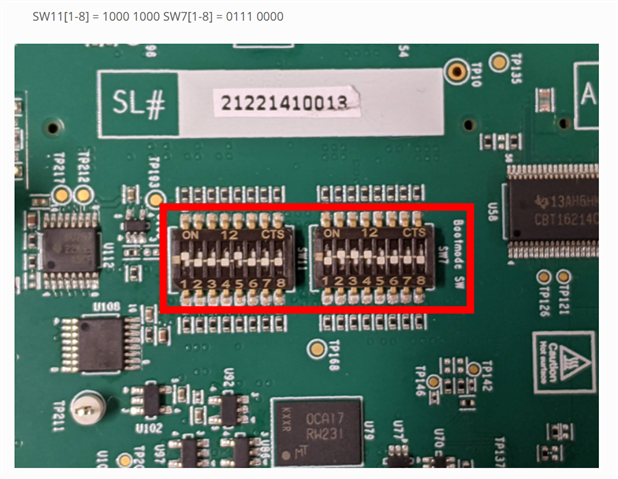
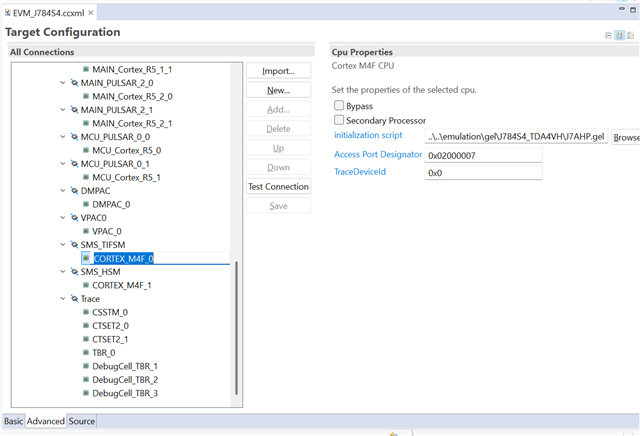
[FAQ] TDA4VH-Q1: How to create "Target configuration" and do "Test connection" on J784S4 EVM

Part Number: TDA4VH-Q1
Other Parts Discussed in Thread: TDA4VH

Tool/software:

Hi Team,

How to create target configuration J784S4 EVM in CCS?

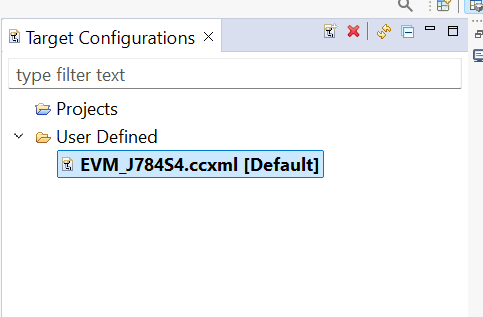
  • This FAQ provides step-by-step instructions for creating target configuration (.ccxml) files on TDA4VH platforms using Code Composer Studio.
    The steps are given below:

    1. Install the latest CCS version from https://www.ti.com/tool/CCSTUDIO#downloads.

    2. Go to File Menu

    • Click FileNewTarget Configuration File.

    3.Select File Name

    • File name: EVM_J784S4
    • Leave Use shared location unchecked (unless you want to share across projects).
    • Click Finish.


    4.Configure Connection and Device

    After finishing, the .ccxml file opens in the editor.

    In the configuration editor:

    • Connection: Select Texas Instruments XDS110 USB Debug Probe
    • Board or Device:
      • Select: EVM_J784S4 depending on your SoC. If the board name isn't listed, select the device manually.
      • Click Save.

      • Ensure that the debug probe is properly connected to the board’s debug port and the board is set to No Boot Mode.
      • The PIN Configuration for the No Boot Mode is given below:


      • Then, use the Test Connection option to verify that the configuration file is correct and the selected connection type supports this function.

    5.Load Initialization Script for Cortex_M4F_0 Core Using GEL file

          To load the initialization script for the Cortex_M4F_0 core in the EVM_J784S4.ccxml target configuration file, follow these steps:

    1. Open the .ccxml file (EVM_J784S4.ccxml) in Code Composer Studio.

            2.Navigate to the Advanced tab.

            3.Under the SMS_TIFSM section, select CORTEX_M4F_0.

            4.In the right-hand panel, locate the Initialization Script field.

            5.Set the script path to the appropriate GEL file:
                   ${CCS_INSTALL_PATH}/ccs_base/emulation/gel/J784S4_TDA4VH/J7AHP.gel
              
             
              6.Save the configuration file.

     6. View the Created Target Configuration


    • After saving the .ccxml file:
    • Go to the View menu in Code Composer Studio.
    • Select Target Configurations.
    • Under the User Defined section, you will see the EVM_J784S4.ccxml file listed.
    • You can now right-click on it and select Launch Selected Configuration to begin debugging.

    Regards,
    Shabary S Sundar