This thread has been locked.

If you have a related question, please click the "Ask a related question" button in the top right corner. The newly created question will be automatically linked to this question.

DAC11001B: Cloud TI Agent/ HW not connected

Part Number: DAC11001B
Other Parts Discussed in Thread: UNIFLASH, CCSTUDIO, BP-DAC11001EVM

Hi Team, 

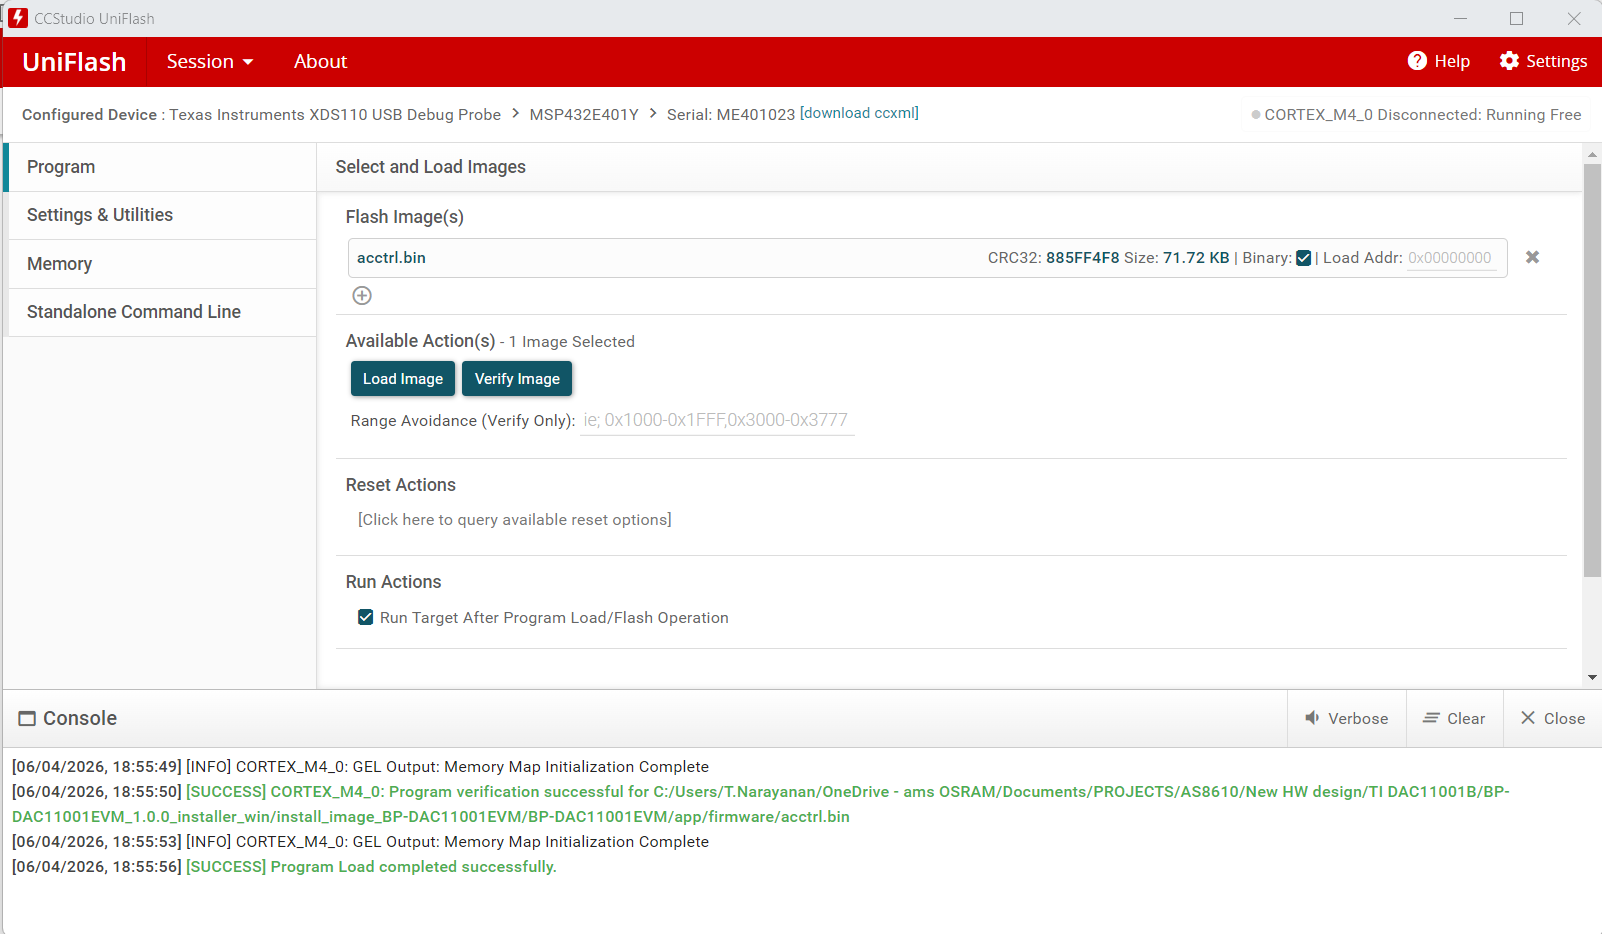
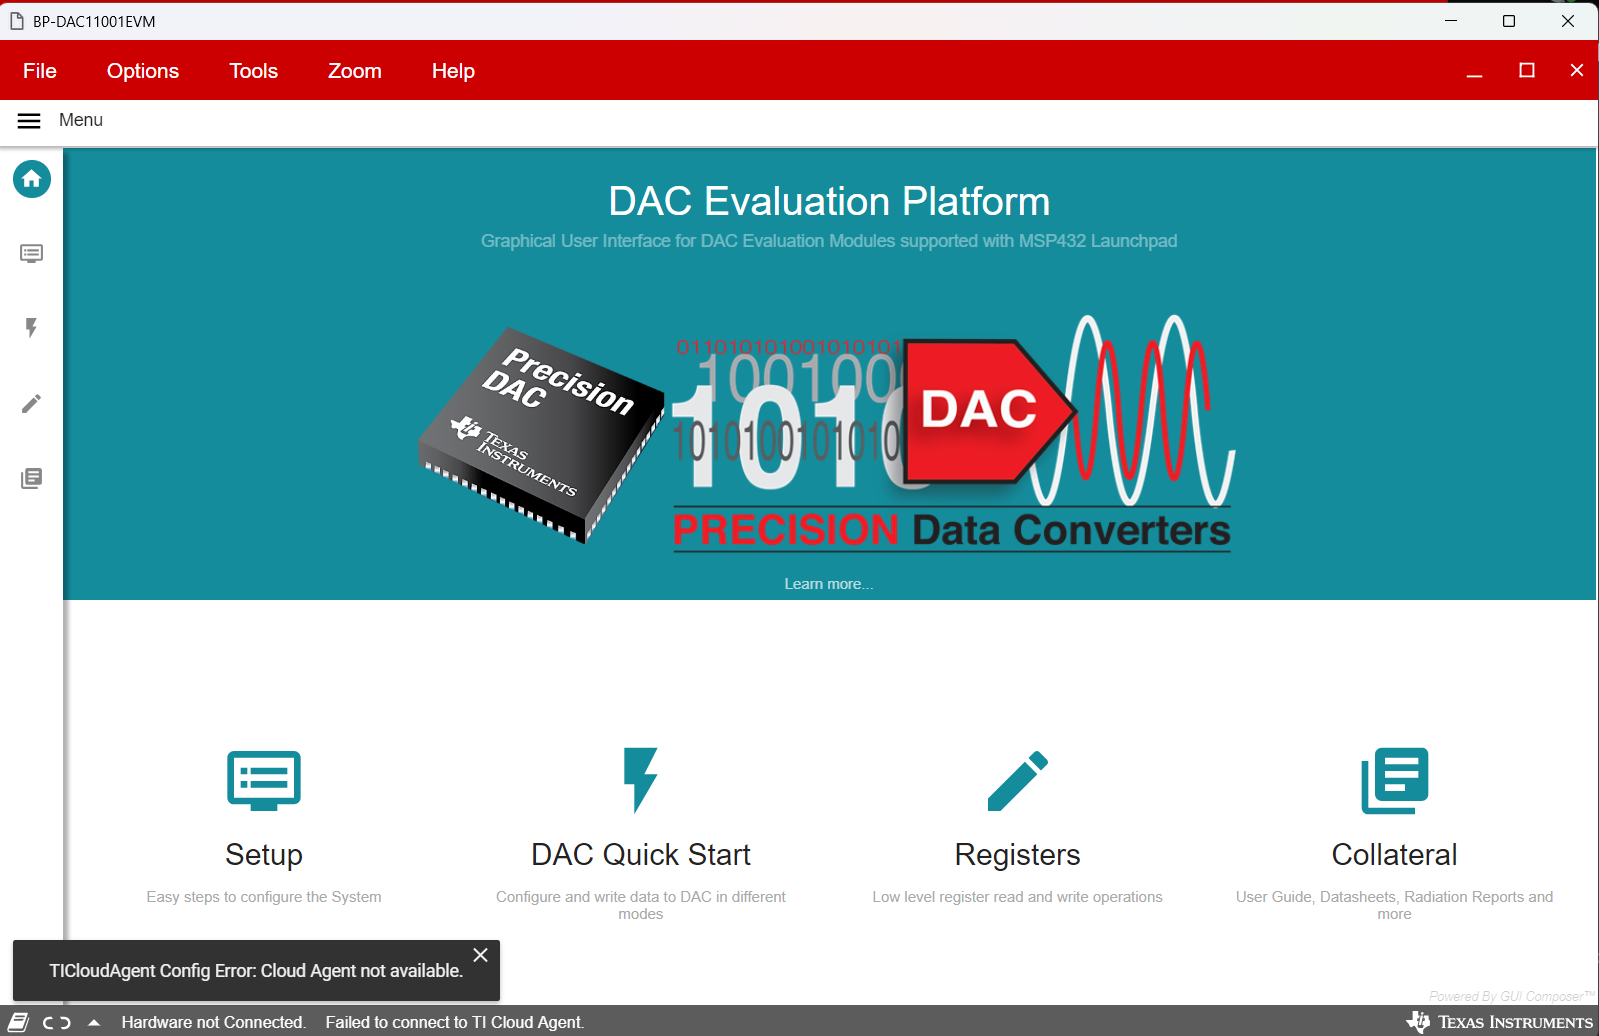
I"m working on DAC11001B precision DAC EVAL kit with launch pad board. I tried to load the bin file in CCStudio Uniflash desktop version and loaded the image successfully as in the attached snapshot. When I tried to launch the DAC GUI, it shows that my HW is not connected [as attached in the snapshot] and for common reference I took the EVAL connected to the Launchpad board. Kindly let me know if i need to do any update in SW or HW wise. 

Also, I would like to know if I need to supply external voltage from any source meter to the DAC EVAL or in the launch pad boards. If external supply is required let me know what voltage and where its should be connected/supplied [J12/J14/J16]. Also, on which register should I write the value that make DAC to force 1mV to 10mV and where is the output supply channel pins are present in the DAC EVAL board. 

This shall help me to make correction in my setup and get the output as expected. Thanks. image.pngimage.pngimage.png
  • Hi Thirupathi,

    Please content the jumpers as per image below - 
      

    Now, connect the power supplies as per the user's guide and datasheet recommendation. 

    User's guide. - https://www.ti.com/lit/pdf/SLAU806
    Datasheet - https://www.ti.com/lit/ds/symlink/dac11001b.pdf

    Now for the connection to happen, please follow the instruction below - 

    1. Is the GUI status showing the Hardware Connected ?
    2. If yes, please change the LDAC Mode to SYNC and Power Up/Down to UP 
    3. If still DAC output is not changing, please check the downloaded SW file and read the README.txt at the location ...\BP-DAC11001EVM_1.0.0_installer_win\install_image_BP-DAC11001EVM\BP-DAC11001EVM\app\patch\ and follow the instructions. 

    Let me know if if any further help needed.

    Thanks,
    Sanjay

  • Hi Sanjay, 

    Thanks for the info!! 

    I have tried with the below jumper settings, further, I have supplied below voltage as mentioned in the datasheet and EVAL user manual. 

    VCC = 5V

    VSS = 0V

    VDD = 5V

    VIO = 3.3V [from launchpad board]

    GND = 0V

    REF_PWR = 5.45V

    REFGND = 0V. 

    After supplying the above voltage, I have tried to connect the launch pad board to my PC and checked for the HW connection status. 

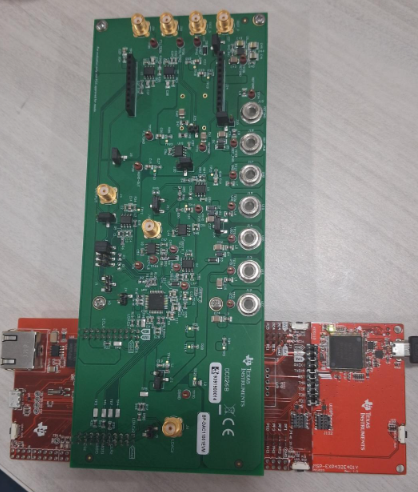
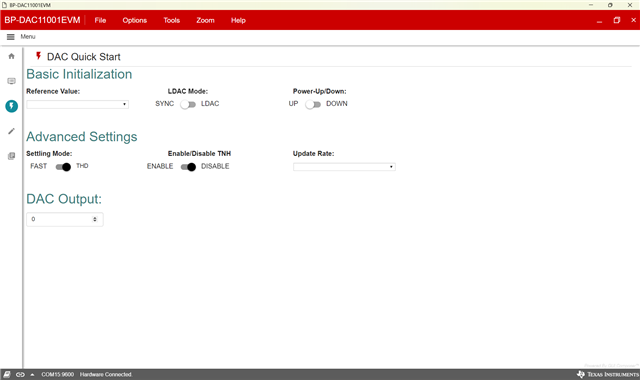
    I was able to connect to the PC and GUI as below, and photo of DAC and launchpad board for reference 


    further as you have mentioned I have tried to power up the device and switch to SYNC mode, but the DAC code doesnt change. Also I tried to replace the OCFSPI.js file in my file directory. 

    Thanks & Regards, 

    Thirupathi N

  • Hi Thirupathi,


    Apologies for the late response. 

    Please check the the data sheet recommendation and set the power supplies accordingly.  Your VCC and VSS values are not in compliance with the data sheet recommendation.


    Let's setup a call if case you are not able to resolve the issue.

    Thanks,
    Sanjay 

  • Hi Sanjay, 

    Sure, can we have a call to my official email? If not possible, please send me an invite to my personal email thirupathin2000@gmail.com 

    Thanks, 

    Thirupathi N

  • Hi,

    Please check your mail and let me know to debug the issue.

    Thanks,
    Sanjay