A related question is a question created from another question. When the related question is created, it will be automatically linked to the original question.
If you have a related question, please click the "Ask a related question" button in the top right corner. The newly created question will be automatically linked to this question.
Importing a library file and creating an OLB file for use in PSPICE:
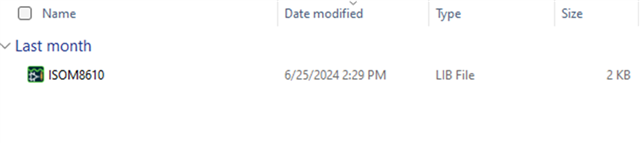
Make sure you have the .lib file in your directory.
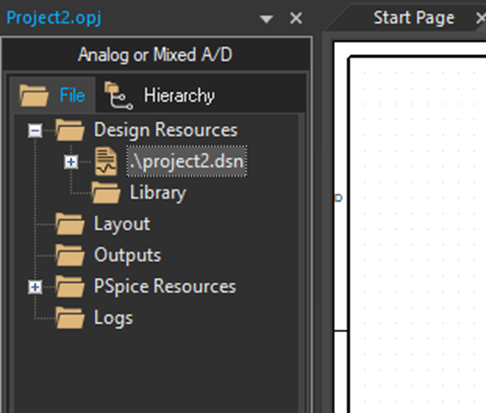
On PSpice for TI, select the .dsn icon.
On the top, select Tools and click on Generate Part.
On Netlist/source file select your .lib file. The OLB or symbol destination will be in the same destination as the .lib file. If you want to change this choose a different destination on Destination part library. Make sure that the “Create new part” icon is selected and that the “Pick symbols manually” IS NOT selected.
Click “OK”.
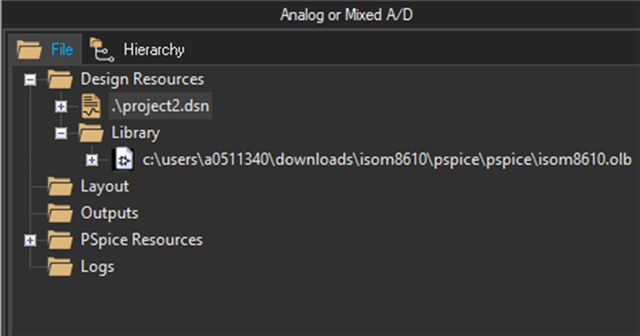
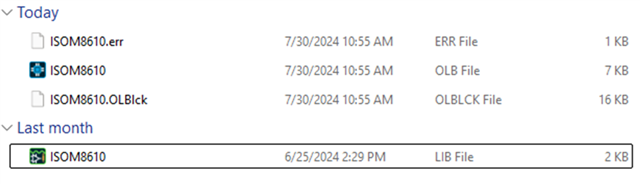
Once the library has been imported and your part has been generated, you should see the .olb file under the selected directory.
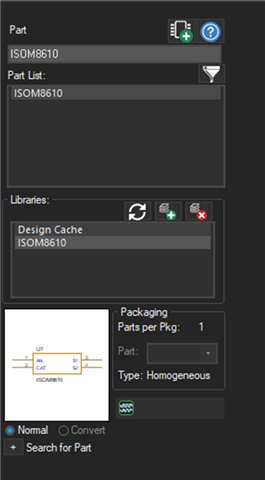
Click on the schematic, and then Click on the place part icon . On libraries click on the add library icon and select your .olb file in your directory. The library file and symbol should show up on the libraries list.
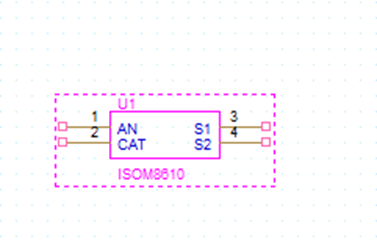
On Part List, double click on your part to add it to the schematic.
Add your library to the simulation file. Create your simulation file and simulate the schematic.