This thread has been locked.

If you have a related question, please click the "Ask a related question" button in the top right corner. The newly created question will be automatically linked to this question.

BQ34110: Basic steps to configure bq34110 please

Part Number: BQ34110
Other Parts Discussed in Thread: EV2400, BQSTUDIO

My application is to monitor the fuel gauge information of a 10-cell NiMH battery pack. I have read the bq34100 datasheet and technical reference manual and "using I2C comms with gas gauge". But I am still confused about the steps of how to configure this chip, as there are so many registers and calibrations. Which ones need to setup first to get it going? Right now, I can send a I2C message and get some bytes back. But please send me some basic steps needs to done for using this chip. Any application examples please? I am using a STM32 arm microcontroller. I used "HAL_I2C_Master_Transmit" and "HAL_I2C_Master_Receive" functions, not sure whether it is the best way. I have got both my circuit and bq34110 demo board for hardware. I ordered a EV2400, have not received it yet.

Thanks and best regards,

  • Hi Jin,

    There are multiple steps that you will need to configure your bq34110 gauge. Here are a few tips to help you get started.

    1) Regarding I2C communication, I cannot offer specific advice for your processor, but there is an app note that will help you get started once you receive your EV2400 module. http://www.ti.com/lit/pdf/slua790  This will guide you through the using the Advanced I2C interface in bqStudio.

    2) For first important steps such as calibration and CEDV parameter selection, I recommend reading through the EVM User Guide section 3. Calibration is important for achieving accurate voltage, current, and temperature measurements. Collecting the data for the CEDV settings is important for gauging accuracy. Here is an app note that will help to guide you through this process: http://www.ti.com/lit/ug/sluub45b/sluub45b.pdf

    3) There are many other configurable parameters for this device that largely depend on your system needs and battery pack. Since this device is designed to support multiple battery chemistry types, many of the default settings need to be modified because the defaults are set for LiIon. I am attaching a .gg file that will be a good starting point for your configuration (10 cell NiMH). Some important parameters to consider for NiMH are related to determining charge termination. Be sure to read about these parameters in the TRM to see if these settings need to be adjusted based on your charging conditions.

    /cfs-file/__key/communityserver-discussions-components-files/196/8171.bq34110_5F00_10Cell_5F00_NiMH_5F00_SampleSettings.gg.csv

    I hope this helps.

    Best regards,

    Matt

  • Thank you so much for your reply. They should put your notes in the datasheet as well. It is very useful information. I will try it out, feeling very confident now.
  • Hi, Matt.
    I have received my EV2400 and demo board. How do I upload this 10cell sample setting file into bqstudio please?
  • Hi Jin,

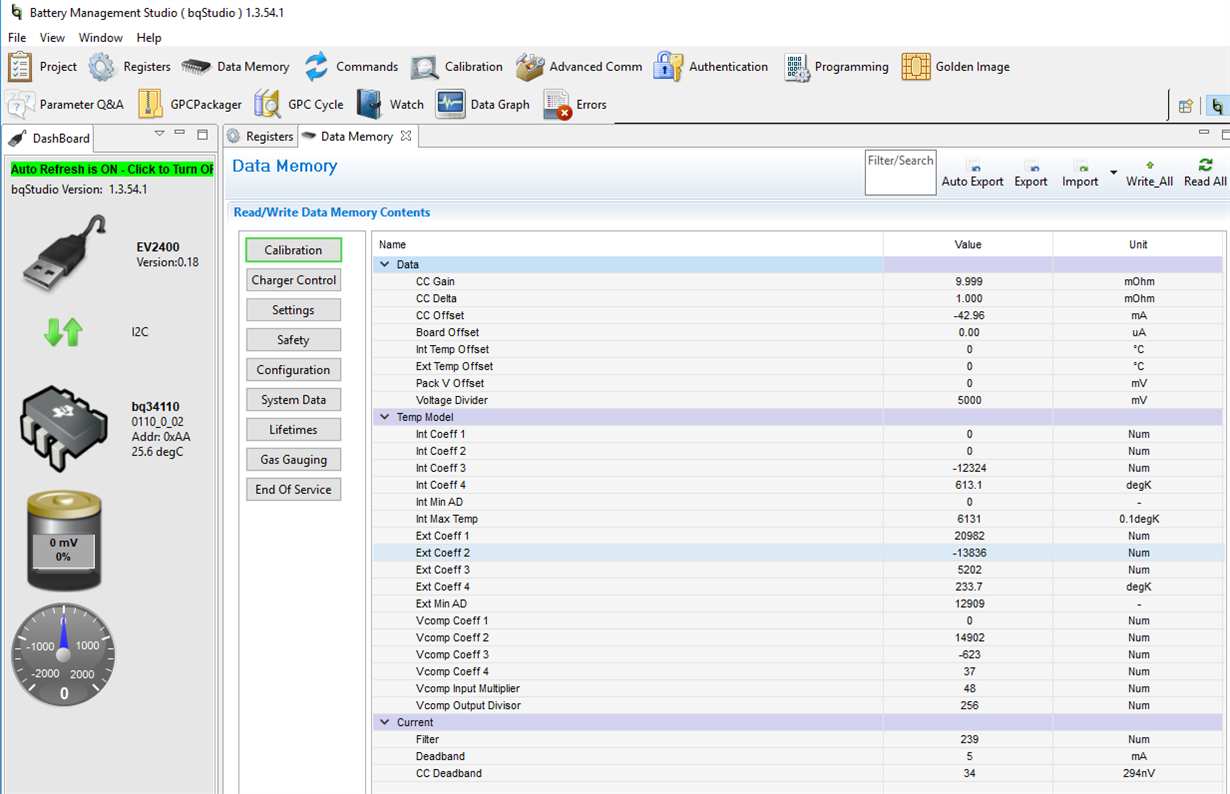
    In the Data Memory Plugin, there is a tab to import settings from a file. See the picture below.

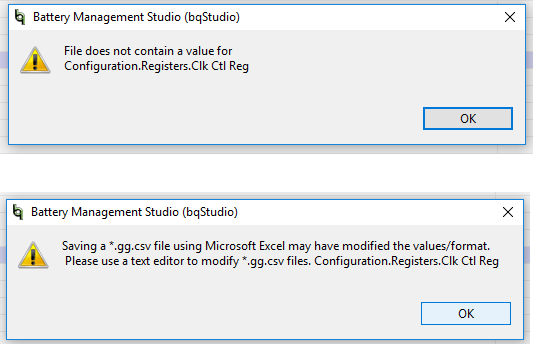
  • I have got this error message. Does it matter?

  • I did export the current one into a file, then import it. It shows no error message.
  • Did you open the .gg file in Excel and save it? Excel will change the format, so you may want to download the file again.

    Also, make sure you are using the latest version of the firmware and bqz file. In the Dashboard on the left side of the screen, it should say 0110_0_02 for the version.

    Matt
  • No, I did not open with excel. I try to download a new one as well. Still gives that error message.

  • Jin,

    I think I see one issue. You will need to download the newer version of bqStudio (under BQSTUIOTEST) at www.ti.com/.../bqstudio.

    This will soon be released as the production version, but I think this may resolve the issue.

    Matt
  • sorry, still got this error with new version bqstudio

  • Hi Jin,

    Hmm, that's very strange. The register it is giving an error for is a reserved register. It is okay to ignore this error as long as the other settings are getting loaded to the Data Memory.

    Matt
  • Thanks. I can see parameters getting loaded. Have you got a library including all different gg files? It is open to customers?
  • Unfortunately we do not have a library like that today. I do plan to prepare something like this for the bq34110 since the device is very flexible and supports different battery chemistries. It will be a few more weeks before I will have something to share.
  • No worries. Thanks, Matt. You are a star.
  • Hi, Matt

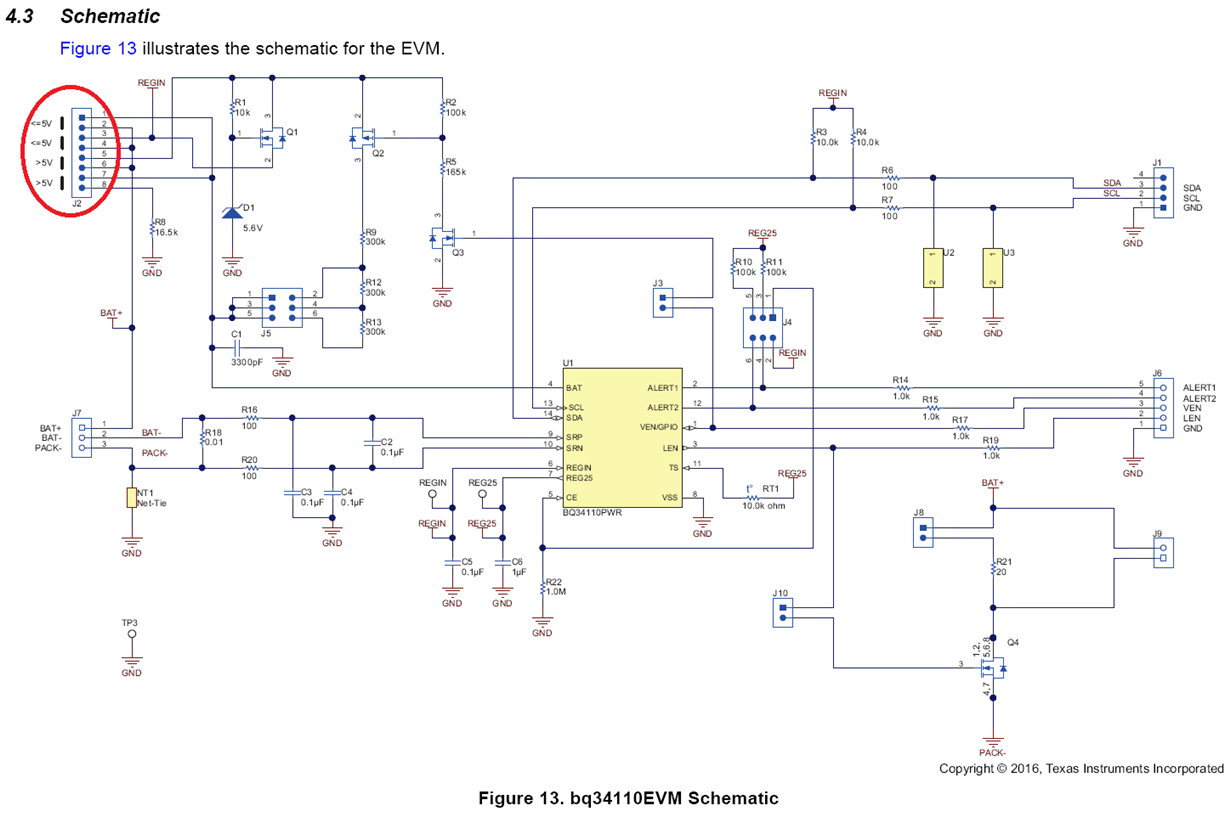
    I am always getting voltage reading 0V. I checked the schematic of BQ34110 demo board. If I put two jumpers on ">5V" two positions. REGIN should have a voltage, but clearly "BAT" pin of bq34110 has got no voltage at all. Is my two jumpers at wrong positions? Or the demo board is wrong?

  • You also need a jumper on J5.
  • Hi Jin,


    Have you enabled the VEN pin in Data Flash (this will cause the VEN pin to pulse to enable the external voltage divider during voltage measurements). It is also important to set the voltage divider and run calibration on the voltage measurement. See if the steps below help to fix the voltage measurement. I am in the process of updating the EVM User Guide, so it would be good to see if these instructions are clear enough. (I am assuming you have a jumper in place on J5 and J3).


    For packs where the stack voltage is greater than 5 V:

    • Enable Calibration Mode on the device by pressing the CAL_TOGGLE button on the Commands panel. Verify that the CAL_EN flag is set in the Manufacturing Status register.
    • Update the Flash Update OK Voltage parameter on the Data Memory Configuration screen to 100mV (default is 2.8V). This parameter prevents flash updates when the measured voltage is below this setting.
    • Set the VEN_EN bit to “1” in the Pin Control Config in Data Memory on the Settings screen. This enables the external voltage divider on the EVM and disables the internal voltage divider.
    • Set the Number of Series Cells parameter to the appropriate value on the Data Memory Configuration screen.
    • Set the Voltage Divider parameter in Data Memory on the Calibration screen. This value should be set based on the external resistor divider setting. (For example, use ~19,200 when the J5 header is set to the 16V setting which divides the BAT+ voltage by 19.2).
    • Reset the gauge using the RESET button on the Commands panel.
    • Calibrate the stack voltage. (see calibration instructions in EVM User Guide).


    Best regards,

    Matt

  • I did put a jumper at 16V. Is that right?
  • Yes, a jumper at the 16V setting is correct.
  • Hi, Matt

    I followed your step. It seems working! I have got 3.3V from bqstudio. Probably I will need to calibrate.
    But one thing I found that pin 1 VEN is like a square wave jumping from 0V to 2.5V frequently. Do not know why
  • Hi Jin,

    That's great news. Regarding the VEN pin, you are seeing the correct behavior. The VEN pin only enables the divider while the voltage is being measured. It does this to save power.

    Matt
  • Thanks, Matt. Glad to hear it is correct behavior.
  • Hi Matt,

    Would you have an example settings for an 8.4V, 2S1P Lithium Ion battery?  I was able to calibrate everything, but not sure if the other settings are correct.

    I am using EV2400 Version 0.18 and BQstudio 1.3.86, and I did got several failures with I2C communication.  After I created the golden image, I tried to program the virgin boards, and in the middle it would hang, lost communication.  I suspected that the power provided through the USB may not be clean or insufficient because after I attached a 5V supplie to the AUX 5V DC port, it seems to work much better.  Of course, this after 5 boards already failed.

    thanks,

    Vichet

  • Hi Vichet,

    I'll try to answer your question here, but it may be good to start another thread if additional help is needed. This will make things easier to track for us to ensure quick responses.

    The default settings for the bq34110 are set up for a Lithium Ion battery with 4.2V per cell, so this should be a good starting point for your application. There is a parameter in Data Memory, 'Number of Series Cells' that you will need to set to '2'. There are many other parameters that depend on your system needs, but you may be able to work with the defaults if there are no special needs. I just published a revision to the EVM User's Guide - I recommend reading through page 8 to help with initial settings: http://www.ti.com/lit/ug/sluubi1a/sluubi1a.pdf

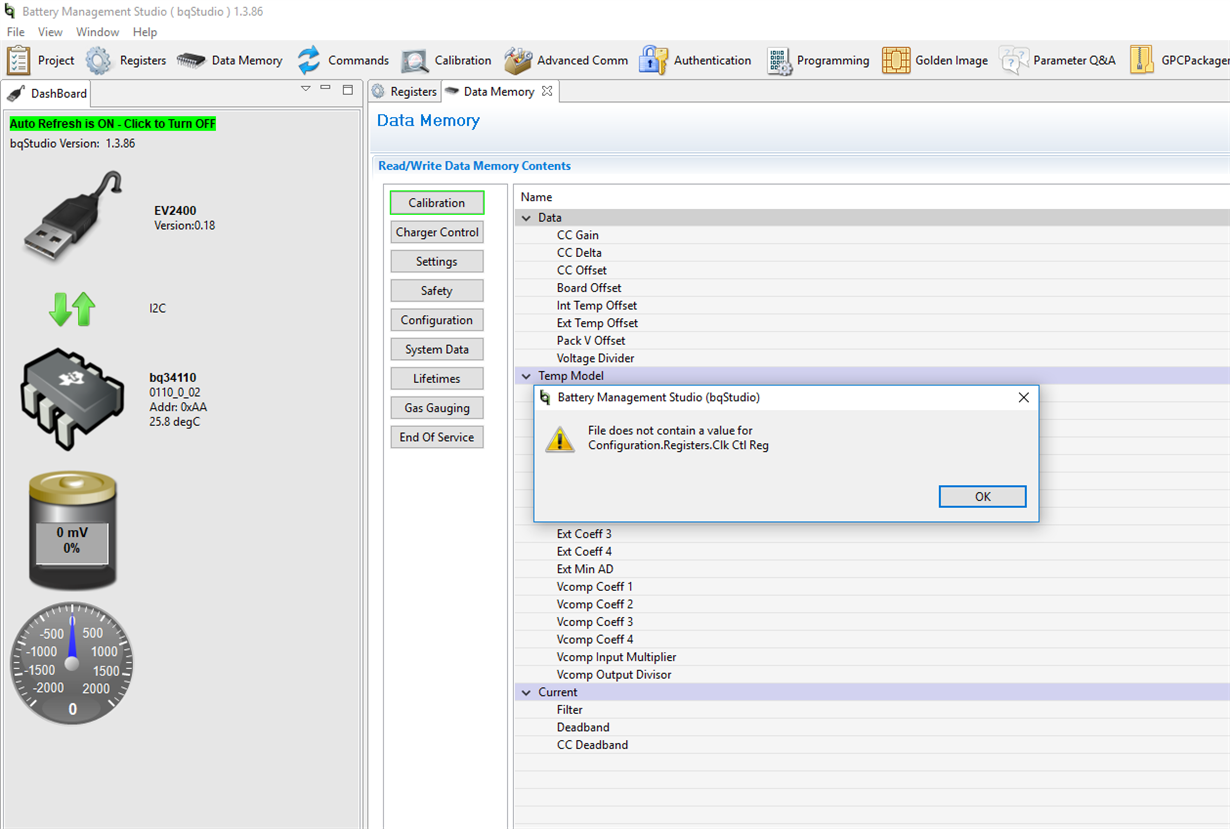
    For the issues programming the golden image, I recommend turning off the Auto Refresh feature in bqStudio (see image below). Also make sure the Scan feature is turned off on the Registers window. I am not sure if this is the issue you are seeing, but it is helpful to turn off all other I2C communication that could interfere with the device programming. Also, make sure to execute the UNSEAL and UNSEAL_FULL_ACCESS commands from the command window just to make sure there is nothing preventing from writing to the Device Memory.

    Best regards,

    Matt