This thread has been locked.

If you have a related question, please click the "Ask a related question" button in the top right corner. The newly created question will be automatically linked to this question.

BQ40Z50-R1: cc offset and board offset

Part Number: BQ40Z50-R1
Other Parts Discussed in Thread: BQSTUDIO

Hello TI Team,

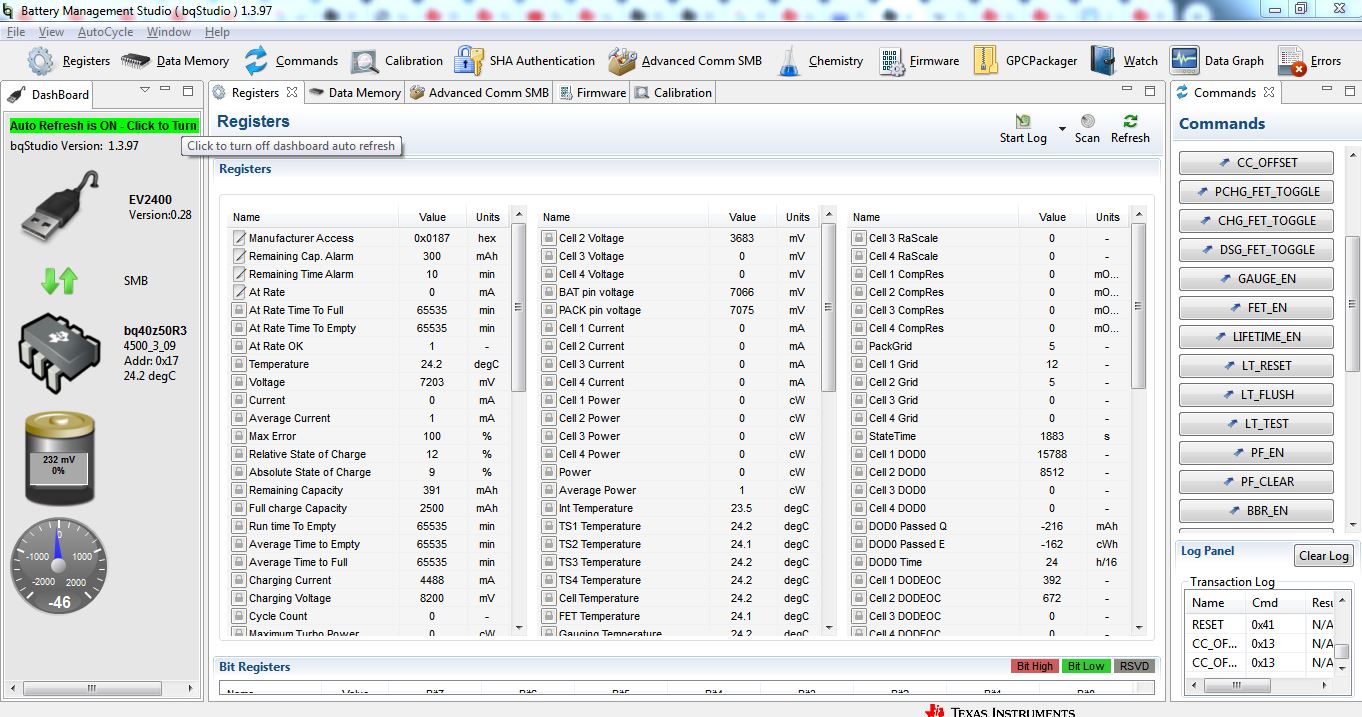
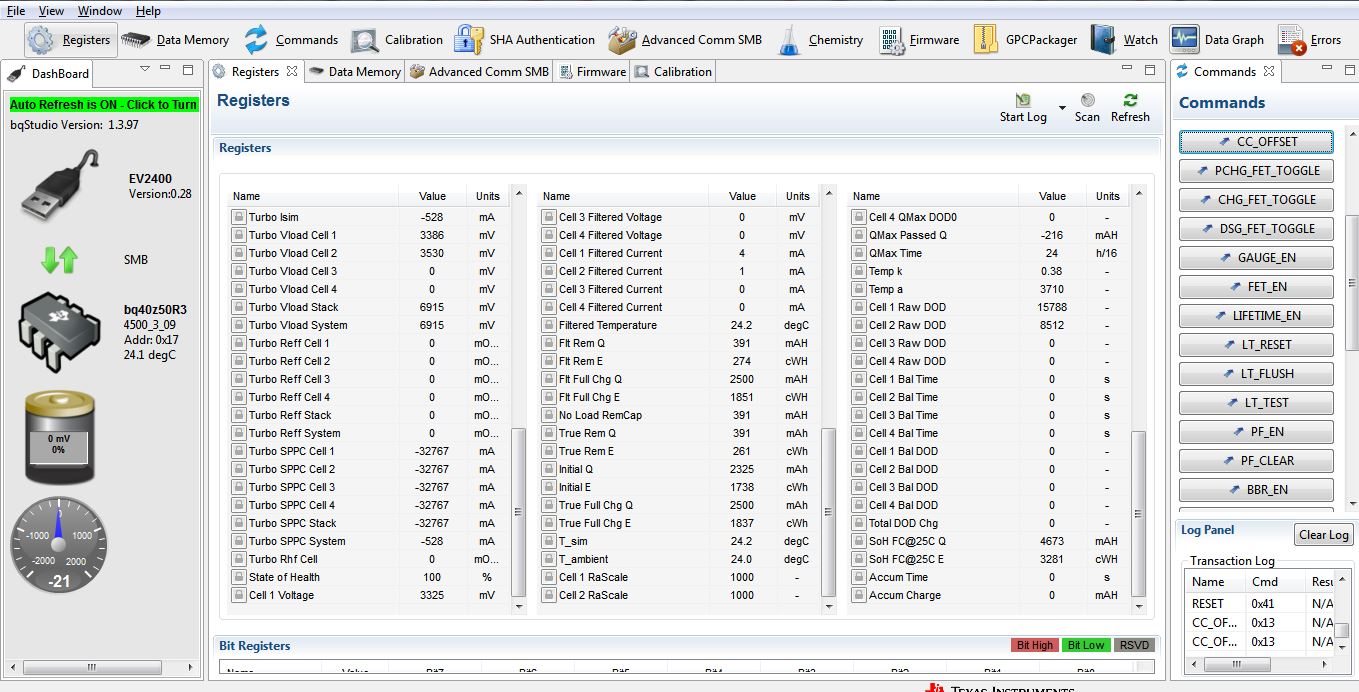
I have generated the golden file for 2s-2p battery configuration,and We have Developed the PCB as per the TI Documents. On New PCB we observed that Actual and Read Current is not matching .

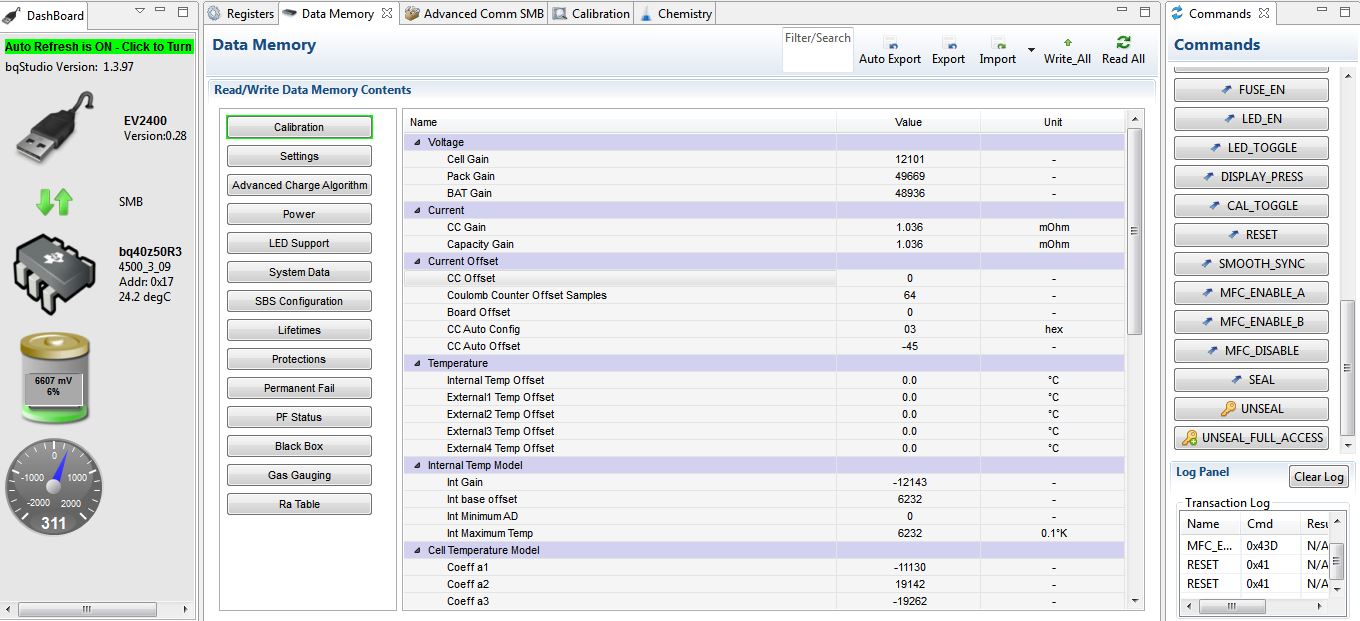
Please suggest how to calibrate my BOARD OFFSET and CC OFFSET. for fixing the drooping of current.

I attached snapshots during charge,discharge and rest time,gg files for your reference.

Thanks

Vishwa 

  UAM_ICR18650-2500-22-Dec.gg.csv

  • Hi, Vish

        The snapshot is for DataRam, currnet can only be read in Register Page and Calibration page, please upload Register Page or Calibration Page to read the current.

        Calibration is also simple, just make sure no current flow throw the sense resistor as the prerequisites, then check cc offset, press calibration button, after cc offset calibration is done, then check the board offset and click the calibration button, the board offset would be done after a while 

  • Hi Steven ,

    We are not finding the options that you have mentioned in response. We tried CC offset Command 0x13, but of no use. At no load current drawn in Display is -48ma. Also uploaded the Register snap shots as requested.

    "Calibration is also simple, just make sure no current flow throw the sense resistor as the prerequisites, then check cc offset, press calibration button, after cc offset calibration is done, then check the board offset and click the calibration button, the board offset would be done after a while"

  • Hello Vishwaradhya,

    Can you try using the Calibration plug-in in bqStudio?

    Thanks