This thread has been locked.

If you have a related question, please click the "Ask a related question" button in the top right corner. The newly created question will be automatically linked to this question.

LM5170EVM-BIDIR: Six-phase operation using EVM

Part Number: LM5170EVM-BIDIR
Other Parts Discussed in Thread: LM5170

Hi all,

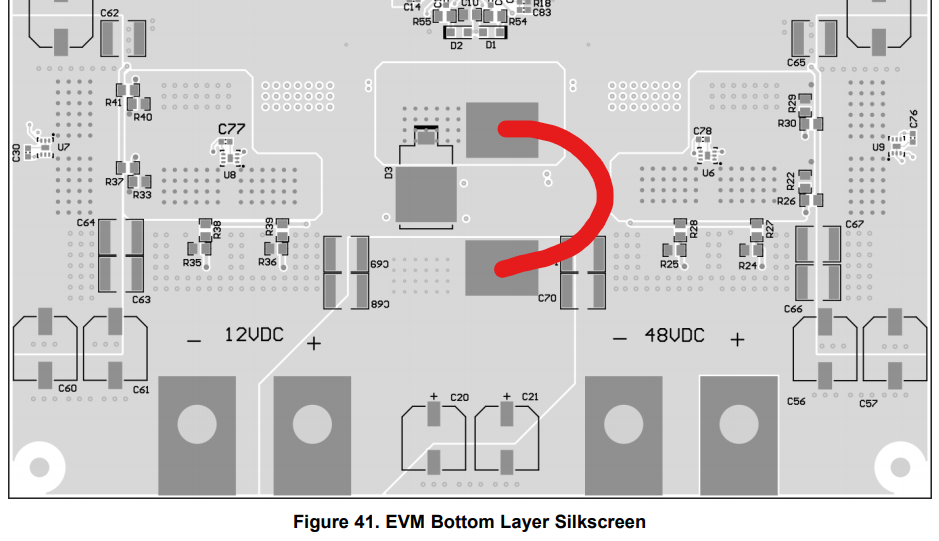
I would like to know how the EVM can be configured 6-phase operation. I thought that the 3 EVMs are able to work by 6-phase operation if the voltage controlling loop is removed from 2 EVMs. Can you advise me the appropriate configuration?

Regards,
RYO

  • Hello RYO,

    Thank you for your message. The responsible person is not in the office today but she will answer to your question tomorrow. 

    Sorry for the inconvenience, 

    Elisabetta

  • Hi  RYO,

    Thank you for reaching out.  The EVM was designed with convenience of making up to 4-phases system with a ribbon cable.  It can still support 6 phases with three EVMs but you need to do the following.

    • Set one EVM as the Controlling board, and follow the jumper settings as shown in the attached drawing below. 
    • Set the other two EVMs as the Followers.  Refer to the same jumper setting, but remove the following jumper connections to make the Follower:

  • Sorry the e2e editor somehow interrupts while I was typing.  Here to continue.

    • Set one EVM as the Controlling board, and follow the jumper settings as shown in the attached drawing below.  This drawing is for boost mode operation. Changing the J28 DIR jumper position can set the operation in buck mode. 
    • Set the other two EVMs as the Followers.  Refer to the same jumper setting, but remove the following jumper connections to make them the Followers:
      • J1, J4, J28, J34, J35, J36, J37
    • Using a pair of twisted wires to connect the following jumpers between the three EVMs.  Note that the 60 pin connectors have 30 pairs conducting 30 signals, with the ground pin of each pair on the inside row of the pins which faces the center of the EVM.  the follow pair of pins need to be connected among the three EVMs: 
      • J17-9; J17-10   for DIR
      • J17-11; J17-12  for ISETA
      • J17-23; J17-24  for 3.3V
      • J17-25, J17-26  for 5V
      • J17-43, J17-44  for 10V
    • Use thick wires to connect the 48V and 12V input ports to make them 6 phase system.  You may stack up the three EVMs vertically for easy connection.
    • Give three interleaved clock signals to each EVM for 6 phase interleaving operation.  Use J17-15 and 16 as the clock inputs for each EVM.
    • If you don't have the interleave clock, for the test purpose, follow the datasheet daisy chain connection for 6-phase and 120deg interleaving operation to route the connection from the Controlling board's J17-17-18 (SYNCOUT) to the 1st Follower board's J17-16-17 (SYNCIN), then do the same from the 1st Follower board to the 2nd Follower board.   Also move J5 (OPT) jumper to the other side of the header, on all three boards.  
    • Remember always use twisted wires for the jumper interconnections. 

    8623.LM5170EVM Jumper Setting for Boost.pdf

    Hope this helps.

    Youhao Xi, Applications Engineering

  • Hi Youhao,

    Thank you for your very detailed explanation. I just would like to confirm 2 things.

    In your explanation, J1 of slave should be removed. Is this configuration okay to install jumper at J22 of both master/slaves and connect J18-17(master) -> J17-5(slave-1) and J18-17(slave-1) -> J17-5(slave-2) so that enabling master enables both slaves?

    In the pdf file you shared, there was a box of "Solder a copper strip to the two exposed pads beside D3 on the bottom side of the PCB." Is it like below so that the circuit breaker doesn't work?

    Thanks,
    RYO

  • Hi RYO,

    Do not use J22 at all.  It is basically UVLO for the LM5170. 

    Sorry I forgot to mention that you need also to connect J17-5 of all three EVMs together.  This covers UVLO which is now enabled by installing R4 on the Controlling board. 

    Do not use J18.  Just use the SYNCIN and SYNCOUT pins of J17 to interconnect in daisy chain per Datasheet Figure 41.   

    You are right about the wire across the two pads.  You'd better to use a copper strip.

    Good luck,

    Youhao

  • Hi RYO,

    May I assume the issue is solved so I can close this thread?  You are welcome to re-open it by adding a new post.

    Thanks,

    Youhao