A related question is a question created from another question. When the related question is created, it will be automatically linked to the original question.
If you have a related question, please click the "Ask a related question" button in the top right corner. The newly created question will be automatically linked to this question.
UBI pre-built image is present in the "{SDK Folder}/board-support/prebuilt-images".
TFTP server must be installed in the Host PC - link.
Now the Steps to Flash the UBI image,
Power up and Boot the K2E EVM in ARM SPI mode, Please refer to this URL for the K2E Quick start guide.
Connect the mini USB cable to the BMC port (J1) and UART Port (J3).
Connect an ethernet cable to the EVM (for TFTP image Transfer).
Check for the "BOOT COMPLETE" message on the LCD screen in EVM.
Now, there will be 4 ports available in Linux (Ubuntu PC)
ttyUSB0 and ttyUSB1 (or it might be ttyUSBx series)
ttyAMC0 and ttyAMC1 (or it might be ttyAMCx series)
Connect through either minicom or Gtkterm, with UARt settings
baudrate = 115200
data bit = 8
Parity = None
Stop bit = 1
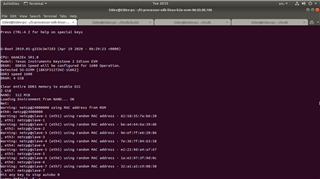
Now the Screen appears like this
If you have been using EVM for the first time, there have been issues in U-boot. so it is recommended to update the U-Boot using CCS and proceed with this step, Please follow this FAQ for U-Boot update using CCS (This FAQ is based on K2H EVM, the same process can be applicable for K2E EVM also).
Give the following commands in the U-Boot terminal
=>env default -f -a
=>setenv serverip 10.0.0.2
//By default, "/tftpboot" folder in Host PC is configured as "root" folder for TFTP server, Hence file path is empty
=>setenv tftp_root
//name of u-boot file - "u-boot-spi-k2e-evm.gph"
=>setenv name_uboot u-boot-spi-k2e-evm.gph
//NFS path - "'/home/tidev/ti-processor-sdk-linux-k2e-evm-06.03.00.106/targetNFS'" kindly replace with your path,
//extract NFS by running following file "linux-devkit.sh" in folder "{TI SDK Folder}/ti-processor-sdk-linux-k2g-evm-06.03.00.106/".
=>setenv nfs_root '/home/tidev/ti-processor-sdk-linux-k2e-evm-06.03.00.106/targetNFS'
//"arago-base-tisdk-image-k2e-evm.ubi" - name of the UBI image that needs to be flashed
=>setenv name_ubi arago-base-tisdk-image-k2e-evm.ubi
//"zImage" is the kernel image
=>setenv name_kern zImage
//U-boot update command set as environment variable
=>setenv update_uboot 'if run get_uboot_net burn_uboot_spi; then echo U-Boot update: SUCCESS; else echo U-Boot update: FAILED; fi'
//UBI update command set as environment variable
=>setenv update_ubi 'if run get_ubi_net burn_ubi; then echo UBI update: SUCCESS; else echo UBI update: FAILED; fi'
=>setenv boot net
=>saveenv
// To update U-Boot - use "run update_uboot"
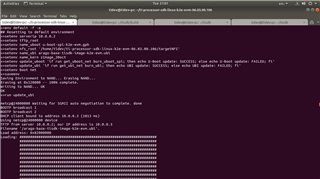
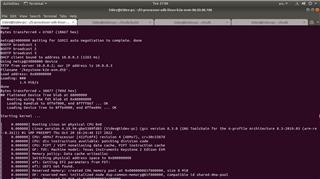
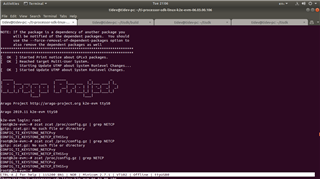
=>run update_ubi
Screenshots of UBI Image flashing steps are presented here.