This thread has been locked.

If you have a related question, please click the "Ask a related question" button in the top right corner. The newly created question will be automatically linked to this question.

Red light on LDC1000 EVM

Other Parts Discussed in Thread: LDC1000EVM

Hello,

I've bought the LDC1000 EVM to discover the possiblities the LDC1000 offers for inductive sensing in an automotive sensor application. I snapped off the original coil and replaced it with a handmade hollow one.

About the coil:
30mm long
21mm diameter
50 turns (2 layers of 25)
0.277 Ohm resistance
100pF capacitor parallel

I've calculated the inductance which is approx 36.3 uH. 

The target is a 1010 steel stick which goes through the coil:
50mm long
8mm diameter

I want to measure a stroke of 15-30mm . 

When I connect the sensor via USB and set it up, I use these values:
RP Min: 5.387 kOhms
RP Max:  48.841 kOhms
Sensor frequency: 2128 kHz

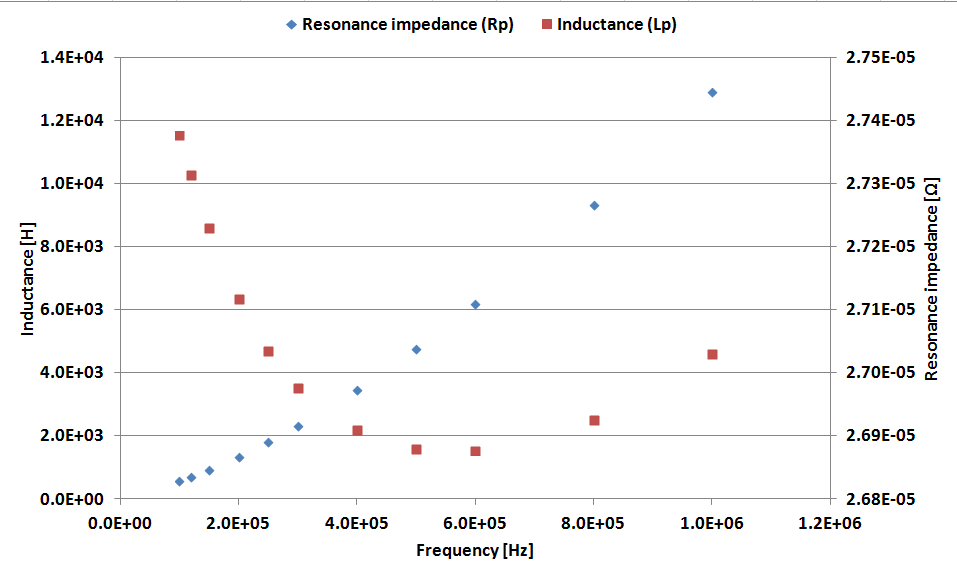
The sensor seems to be working, inductance and Prox data change over position, altough inductance only changes slightly. 

But what bothers me is that the inductance is around 300uH and changes negative if the target is inserted. My simulation showed the earlier calculated 36uH and a positive change.

Further the red light on the USB interface is lit, what does this mean?

I've checked the peak to peak on pin CFB, this was around 2V. I've replaced the original capacity (20pF) to 40pF and then the peak to peak was around 1.75V. I tried some higher values and ended up with a 80pF capacity to get the 1V peak to peak value. Is there an explanation for this?

Hope you'll be able to clearify things for me, thanks in advance,

Sietse

  • Hi Sietse,

    Please install the latest version of the GUI 1.0.4.0.  Note that you will have to do a system restart and the firmware on your EVM will have to be updated.  With this change, inductance will be shown with the full 24-bit range and you will also be able to toggle between raw frequency counter data and calculated inductance.

    There is a thread about the red LED here, which should clarify its function: http://e2e.ti.com/support/data_converters/inductive-sensing/f/938/t/318618.aspx

    Note that in the new firmware 0.3.0.0 there is a change in how calibration works - defaults are now stored on the microcontroller:  http://e2e.ti.com/support/data_converters/inductive-sensing/f/938/t/306102.aspx

    Using a relative permeability of ~460 and resistivity of 14.3uohm-cm for unannealed 1010 steel, the skin depth at 2.128MHz is roughly 6um.  This means that eddy currents are dominating since penetration into the ferrous steel is not enough for your rod to act as a core.  This is why your inductance is going down instead of up.  Try lowering your tank frequency or hollowing out your material.

    As for the CFB think of it like this: The more energy you store in your tank, the less required on the feedback cap.

    Thanks,

  • Hi,

    Can you tell me why you choose such Rp range, and can you measure the coil to give out the exact inductance of the coil?

    Regards, Sunny.

  • Hello,

    thanks for your extensive answer. I tried to update the GUI but when I download the snac08 file and install the .exe the GUI version still says 1.0.3.0 . I got the file from the second topic you linked to. Then I tried to install the new firmware on the EVM but the software crashed and the second time got stuck on this point:

    Does this have something to do with the GUI not being up to date?

    Did I have the correct download file for the GUI? Do you have a direct link for me?

    Regards,
    Sietse

  • Hello Sunny,

    I choose this Rp range by following the instructions from the LDC1000EVM quick start guide.


    Regards,

    Sietse

  • Hello,

    a colleague helped me out today with a measurement of the coil with an analyser. This is the result:

    The analyser couldn't go beyond 1MHz. When I estimated the resonance frequency with a calculation I got 2.64*10^6 Ohm.

    Regards,

    Sietse

  • Ho sorry I've made a mistake. The axis are switched. It should be:

  • Hi Sietse,

    thanks again for posting here in the E2E Forum. 

    I just double checked the available GUI version and it is indeed version 1.0.4.0. You can download it from here:

    http://www.ti.com/lit/zip/snac058

    Once you installed this version you can update the firmware of your EVM. Please make sure that while it is flashing the firmware, no mateal object is close to the sensing coil of the EVM (<15mm).

    Please let us know if this helps.

    Cheers,

    Thomas

  • Hello Thomas,

    update has succeeded! Thanks!

    Could you also direct me towards the right firmware files? I downloaded a version but I'm not sure if it's the correct one. 

    Regards,
    Sietse

  • Hi Sietse,

    the firmware is included in the GUI SW installation package. Once you start the GUI after the installation it should detect that you are using an outdated firmware and prompt if you want to update.

    In case this does not happen you can select the file from the GUI installation folder on your PC which will be similar to this:

    C:\Program Files (x86)\Texas Instruments LDC1000 EVM GUI\Firmware (depending on your PC setup it may be on a different drive.

    Cheers,

    Thomas

  • Ok thanks again.

    I flashed the EVM with the wrong version and needed to flash it again with the .txt file in the folder you've indicated. That worked and the EVM is back online. Now I will  continue experimenting. 

    Regards,

    Sietse

  • Perfect!

    Let us know how it goes! 

    Cheers,

    Thomas

  • Hello,

    the sensor works but doesn't seem to respond to changes in RpMIN and RpMAX. Does the sequence for getting a custom sensor to operate with the LDC1000 stay the same?

    Regards,
    Sietse

  • Hi Sietse,

    the procedure to determine Rpmin and Rpmax stays the same and is specified in the datasheet (http://www.ti.com/lit/ds/symlink/ldc1000.pdf) on pages 11 f. and in the LDC1000EVM Quickstart guide (http://www.ti.com/lit/ml/slyw022/slyw022.pdf) on pages 2 f.

    Please note that you also need to adapt the filter capaitor CF which is also described in the deocuments mentioned above (page 13 in datasheet and page 3 in the EVM Quick Start guide).

    Cheers,

    Thomas

  • Hello Thomas,

    I follow the quickstart guide because the impedance analyzer I use doens't go beyond 1MHz. I can't determine the exact resonant frequency but use my calculated 2.64 MHz in step 4b. The sensor gives a prox data above 0 so I don't add a discrete inductor. When I arrive at point 4d and start changing Rp_min nothing happens. In the old version when I raised Rp_min the prox data would increase towards 2^15. In this version nothing happens as if the chip doesn't switch to the selected Rp_min.

    I have a second EVM with the original coil and connected this one. When I change Rp_min: no change. I've noticed that when I reconnect the EVM while the Stop button is pressed the Rp_min and Rp_max values do change slightly even if I didn't change them before. Does the EVM do a self calibration when it powers up?

    Regards,

    Sietse

  • Hi Sietse,

    You have to set power_mode to stand-by before editing registers, then back to active before reading data.  This is a bug in the new version and an updated version 1.0.4.1 will be available on the website tomorrow.

    The EVM does not do self calibration anymore in the new firmware.  Instead, it reads from a set of default values from the microcontroller that can be written by the "save values as defaults" button.

    Thanks!

  • Hello,

    update solved the problem. Thanks!

  • Hi Sietse,

    there seems to be a problem sending emails to your address:

    Your message wasn't delivered due to a permission or security issue. It may have been rejected by a moderator, the address may only accept e-mail from certain senders, or another restriction may be preventing delivery.

    Can you send me an email from a different account or check with your IT what is going wrong.

    Cheers,

    Thomas