This thread has been locked.

If you have a related question, please click the "Ask a related question" button in the top right corner. The newly created question will be automatically linked to this question.

DCA1000EVM: Quick Start Guide

Part Number: DCA1000EVM
Other Parts Discussed in Thread: AWR1642BOOST

Hi all,

 I installed all the hardware DCA1000EVM and AWR1642BOOST cards as seen in the "DCA1000EVM Quick Start Guide (SPRUIK7)".

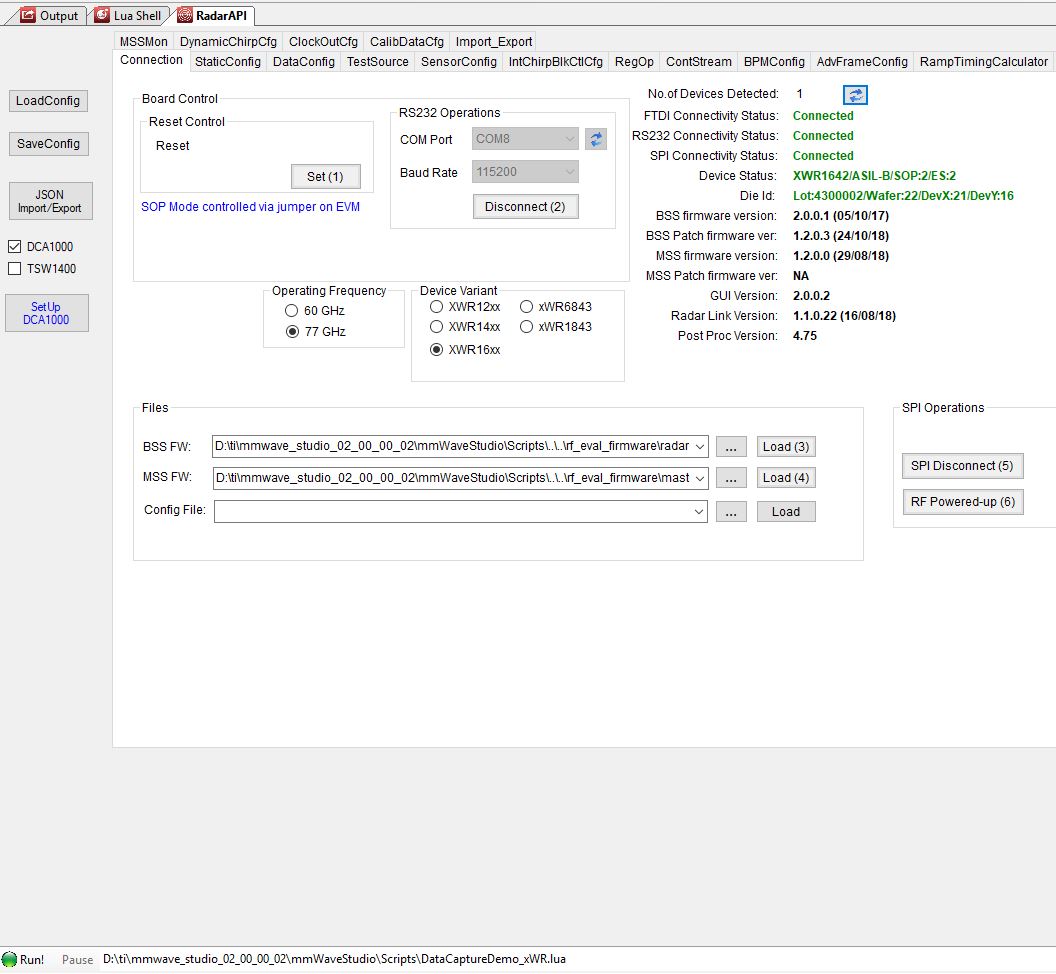
 I followed the directives in "mmWave Studio GUI User's Guide" and I can connect to the cards in the Connection Tab, I reach the RF connected stage. Everything seems to be Ok.

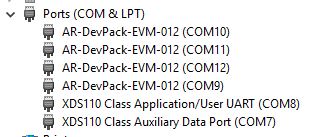
I setup the DCA1000EVN in the Ethernet as indicated.

 When running I can see some packets in the WireShark application from time to time sent by the DCA1000EVM but now real time data.

1. How can I see real data flowing?

2. How can I launch RadarStudio PostProcessing as seen in DCA1000EVM Quick Start Guide shown in Figure 6 ?

I installed HSDC Pro 5.0 but it doesn't run. It asks me to install a LawView Run Time (2014). I installed versions from 2014 to the last one and always get the same error of unexpected exit from Windows C++ runtime module. I am using Windows 10 Operating System.

Thanks,

Claudio  

  • Hi Claudio,

    Could you please attach screenshots showing each step you followed? Especially the DCA1000 configuration, and the Sensor Config tabs, but preferably all tabs.

    The DCA1000 does not use the HSDC Pro. You only require mmWave Studio to use the DCA1000 EVM. Please refer to the DCA1000 quick start guide.

    Best Regards,
    Anand
  • Hi Anand,

    I follow the directives found in the “DCA1000EVM Quick Start Guide” document:

    1. Device Manager shows:

    2. mmWave Studio 2.0.0.2 is running in Administrator Mode in my Windows 10, 64 bits Operating System.


    3.I completed the Connection TAB

    Set 1 to 6


    4.I completed the StaticConfig TAB as guided by the focused set button.

    ADC Config, LP Mode, RF Init Done, Frequency Limits Configuration.


    5.I completed the DataConfig TAB

    Data Path Configuration, Clock Configuration, CSI2 Lane Configuration


    6.I completed the SensorConfig TAB

    Profile, Chirp, Frame


    7. I pressed the Setup DCA1000 button

    7.1 In the RFD Capture Card popup window y pressed Connect

    8.What more should I do in order to reach the “Figure 6. Visualization of the Captured RAW ADC Data”

    8.1 I used all default setup’s when pressing set, without any changes.

    Thank you,

    Claudio


  • Hi Claudio,

    This sequence is correct. After this, please click the "DCA1000 ARM" button, and then the "Trigger Frame" button in the SensorConfig Tab.
    This will start framing and acquire data. After this has completed (a few seconds including time needed for data transfer), press the "PostProc" button and wait - this will bring up the visualization window.

    Best Regards,
    Anand
  • Hi Anand,

    Resolved...!!!

    Thank you very much,

    Claudio