This thread has been locked.

If you have a related question, please click the "Ask a related question" button in the top right corner. The newly created question will be automatically linked to this question.

TPS65981EVM: Flash verification fails / Need help on reviving EVMs

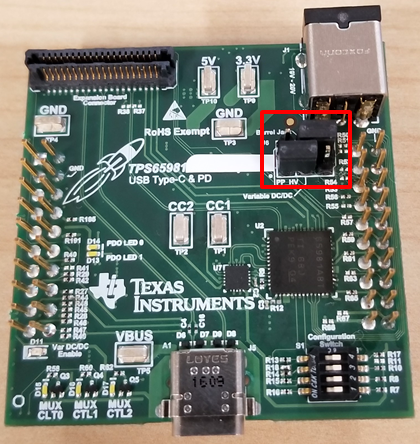
Part Number: TPS65981EVM
Other Parts Discussed in Thread: DP-EXPANSION-EVM, TPS65981

Dear Team,

I wanted to setup a DP Alternate Mode demo with the 2x TPS65981 + DP-EXPANSION-EVM. Unfortunately – you know Murphy’s Law for sure – the demo did not work…

When I prepared the demo, I was not able to re-flash the memory.

  • Connecting to the EVM via FTDI interface works
  • Selecting and loading an application profile – Yes
  • Erasing memory 100% > successful
  • Flashing memory 100% > successful
  • Flash verification goes to 100% but shows FAILED!

Using the recovery / fallback image also brings the same results.

One board showed this behavior directly after unboxing, the other one after ~1 hour debugging / trying to get it working.

I hope that I did not destroy the board.

> Do you have ideas how I could get the boards working?

Thanks for your support.

Best Regards
Martin

  • Hi Martin,

    I'm sorry to hear that the demo did not work out for you!

    A couple things you can check to help debug this issue:

    - Is the Flash memory receiving 3.3V

    - Can you read back the Mode register (0x3)

    - Can you confirm the switch settings of the FTDI (see picture below)

    Thank you,

    Eric

  • Hi Eric,

    Yes, the switch is set as shown above (only Force Enable ON).

    For measuring the voltage rail, my procedure:

    1) Connecting USB to FTDI
    2) Connecting Dell Power Supply to board.
    3) Measuring 5V and 3.3V test point (on the TPS65 board)
    4) Measuring pin 8 of U1

    Test Point Board 1 Board 2
    5V Test Point 0V 4.95V
    3.3V Test Point 0V 3.25V
    Pin 8 @ U1 20V 20V

    Something is definitely broken / fried :(

    Cheers
    Martin

    EDIT: Sorry, measured the wrong device (U3 instead of U1...)

  • Hi Martin,

    Can you confirm if the jumpers on your 81-EVM are as in the picture below:

    Thank you,

    Eric

  • Hi Eric,

    No - the EVM did not have any jumper in the box, so I did not pay attention to J6.

    I followed the instructions on 6.3.4. The jumpers where not mentioned and I thought that everything is done via the config switch. Looking back to "5.1.2.5 J6: Power Path Connector", I clearly have missed that.

    I do not have lab access till next week Monday. But could you please comment how I would have to sent the jumpers/ switches for following configuration?

    • Using EVM Board 1 as "laptop", so this one getting USB in, DP in, and having the Dell supply connected.
    • Board 2 should be the 'dongle', so it should be powered by the USB Type C cable and giving legacy USB & DP AM out.

    Thanks and best regards
    Martin

  • Hi Martin,

    For those applications, both boards will use the same jumper setting as highlighted in the picture in my previous post.

    Thank you,
    Eric
  • Hello Eric,

    thanks a lot for the answer & feedback.

    I was today again in the lab.

    First of all: Regarding the 20V at the 3.3-V flash >> I checked the wrong device U3 instead of U1. Apologies for the mistake.

    Same procedure as in the first test, with jumper settings from your last post's photo:

    Test Board 1 Board 2
    5V test pin 0V 3.2V
    3.3V test pin 0V 4.95V
    Pin 8 of U1 (Flash) 2.44V 3.2V
    Programming
    & Flash verif.
    FAIL PASS

    So, J6 was the problem. Thanks a lot for the help.

    So instead of challenging my technical skills, I should challenged my reading skill :)

    I will try to measure a bit to revive board 1 but for the demo I will order a new one.

    Thanks a lot for the help!

    Best Regards
    Martin