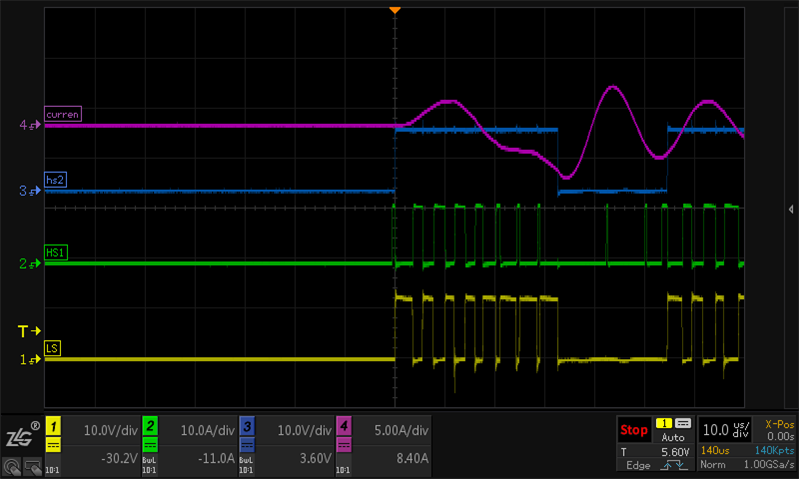
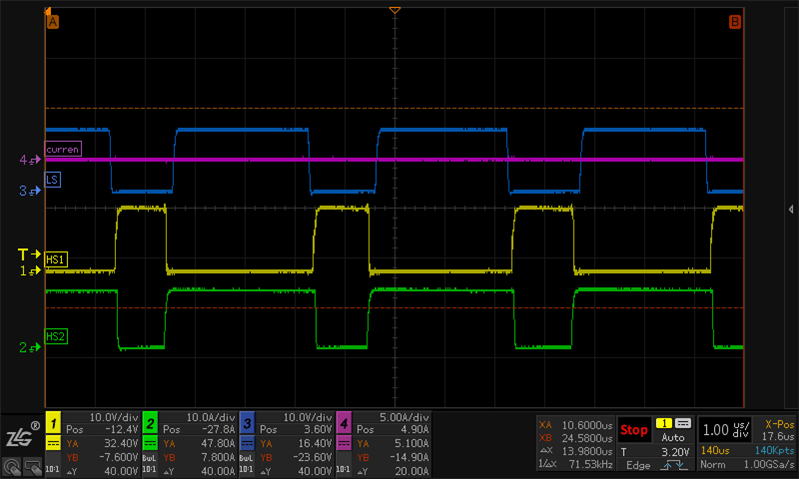
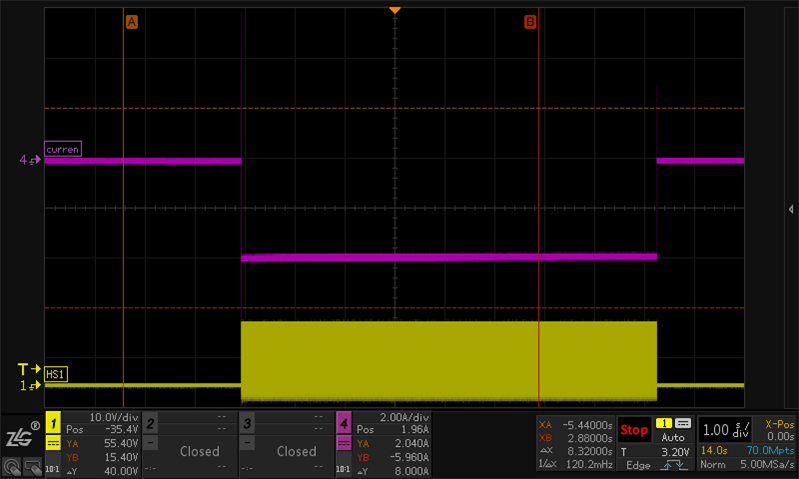
I have exactly the same problem but don't know how to deal with it and ask for support. Thank you! The scheme I adopted is the same, which drives EMB1499Q in hardware mode.

-
Ask a related question
What is a related question?A related question is a question created from another question. When the related question is created, it will be automatically linked to the original question.