This thread has been locked.

If you have a related question, please click the "Ask a related question" button in the top right corner. The newly created question will be automatically linked to this question.

TDA4VM:TDA4VM use single_cam save raw but photo source file missing

Part Number: TDA4VM

Tool/software:

Hi,

We use tda4 (J721e EVM) to bring up the otobrite imx390 camera(Camera number of pixels:1920×1080). We have successfully used ./vx_app_single_cam.out to bring up the camera.
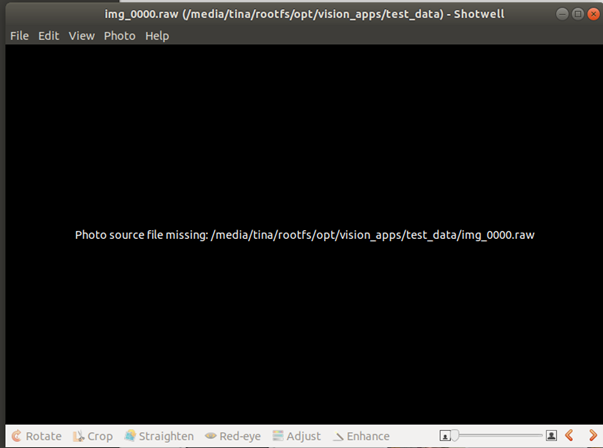
But for the saved image, I want to use linux to open the raw file, but it shows: photo source file missing. For the saved yuv file, I use the command: ffplay -f rawvideo -video_size 1920 × 1080 cap_0000.yuv to open the yuv file, but it shows the picture is completely different from the picture that appears on the monitor. I would like to ask how to solve it?

  • Hi,

    May I know the procedure you are following to save the raw and yuv files here?

    And how are you using linux to open the raw file?

    Regards

    Nikhil

  • Hi,

    Thanks for your reply, here are the steps I took to bring it up

    source ./vision_apps_init.sh

    mkdir test_data

    ./run_app_single_cam.sh

    After turning on the lens and seeing the image from the monitor, the first picture below is displayed. According to the picture below, I enter “s” to save the image. The saved content is in the third picture. I can indeed save it in the test_data folder. I found these information, but what the fourth picture means is that when I want to open RAW, it shows: photo source file missing. I don’t know why I can’t open RAW. I would like to ask you to help solve this problem.Thank you.

    I open the RAW file by clicking on the RAW file.

    The code to open YUV is as follows:

    ffplay -f rawvideo -video_size 1920×1080 img_viss_0000.yuv

    The good news is that when I change 1920×1080 to 1936x1096, I can open yuv and see a clear picture. The bad news is that the picture is gray.Because the file I want to use and save must be in color, so I also want to ask you about this part. How do I save a picture so that the saved picture is in color?

  • Hi,

    the saved image from VISS would be of size 1936 x 1096 as the IMX390 streams the same. 

    The saved image would be of the format NV12 which is of 2 planes. So your total size is 1936x1096x1.5

    Could you try using 7yuv tool to check if your saved NV12 image is correct?

    Regards,

    Nikhil

  • Hi, thank you for your reply.

    I used the 7yuv tool to open my raw image, but the color looked incorrect. It was green after opening. The following are my settings and the image after opening.

    I learned from the Internet that since my camera output is 12-bit raw data, Color filter array: RGGB, but 7yuv does not provide the option to turn on 12-bit raw data, so I can only choose the similar bayer RGGB 16 bit, but After turning it on, the screen turns green.

    Because my ultimate goal is to get a raw image with the correct color, can you please give me some suggestions after taking a look at my settings? Or is there something wrong with my settings? Or is there something wrong with saving the image?

    Your suggestion is "Save the image in NV12 format, with 2 planes. So your total size is 1936x1096x1.5". I don't quite understand where this part can be adjusted in 7yuv. Can you help tell me how to adjust it?

  • By the way, I used 7yuv to open the yuv file "img_msc_0000.yuv" and set it to use "YUV420 planar NV12". The image looked correct, so now only the Raw file looks green when the image is opened.

    In your last reply, you mentioned "try using 7yuv tool to check if your saved NV12 image is correct". Does the "NV12 image" mentioned here refer to RAW files or YUV files?

  • Hi

    NV12 is YUV420 and you are able to view this correctly. 

    I don't think you can view raw image using 7yuv tool.

    But if your NV12 output is correct, then your raw should also be correct as the former is generated from the latter.

    Regards,

    Nikhil

  • I understand what you mean, so it’s possible that the tool I used to open the RAW file is not suitable and the image looks wrong. Is that right?

    Because I use TI DCC TOOL to open the same RAW file, the color still looks greenish, or is it that the DCC TOOL cannot open the RAW file?

    The following is the image I set up and opened in DCC TOOL.

  • Hi JiaRong,

    the color still looks greenish,

    The raw image in Bayer pattern is typically greenish because green sensor pixels are more sensitive than red and blue pixels.