Tool/software:
Hi
I have a prebuilt Linux image available in SD-card received along with J784S4XEVM. I am able to boot the board using these images, now I want to flash this image into eMMC. I am following the section 3.1.1.5.4 from this document Flashing Document. As per the document it is asked to create rootfs partition before booting the kernel but I do not see the steps to create rootfs partition or write kernel from u-boot (As per the note highlighted rootfs partition cannot created from u-boot). Can you please share detailed steps for flashing complete Linux image from SD-card into eMMC.
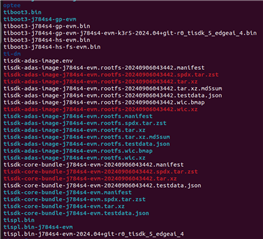
Also, I have built Full SDK image i.e tisdk-core-bundle using command "MACHINE="j784s4-evm" bitbake -k tisdk-core-bundle" but I could not see *.wic.xz image in yocto-build/build/deploy-ti/images/j784s4-evm directory after compilation; there are no errors reported (tisdk-adas-image-j784s4-evm.rootfs.wic.xz is present), is it expected?
Thanks,
Arjav Parikh