- Ask a related questionWhat is a related question?A related question is a question created from another question. When the related question is created, it will be automatically linked to the original question.
Hi All,
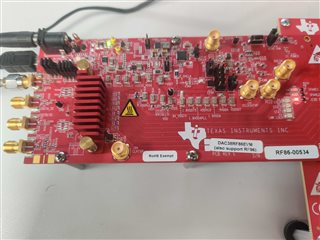
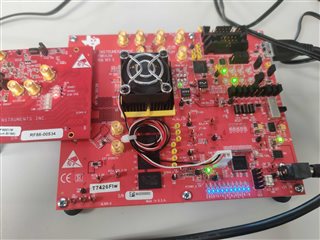
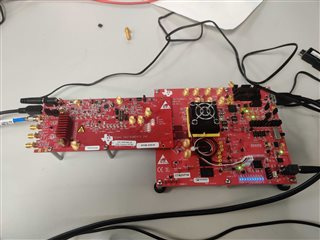
I am using DAC38RF86EVM in conjunction with TSW14j56 Rev E as a signal generator to generate a custom pattern. To test this I am trying to generate a 100 MHz sinusoidal wave using the differential output IOUTA.
HARDWARE modifications :
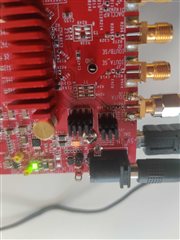
Initially the board did not have the IOUTA (J6) pin, so we soldered it on the board and the resistor and capacitor to the path was not there as well, so we soldered R273 and C399 which is 0 ohm resistor and 5600 pF capacitor respectively. We used 1000pF capacitor ( capacitance lower than 5600 pF) for C399 as we did not have 5600 pF . Two doubts I have regarding these modifications: one is are these modifications correct and enough for generating differential output using IOUTA, or do we need to perform any other hardware modifications( Attaching screenshot of the configuration) ? Second, would attaching a capacitor of less capacitance work for C399 or we need precisely 5600 pF capacitor?
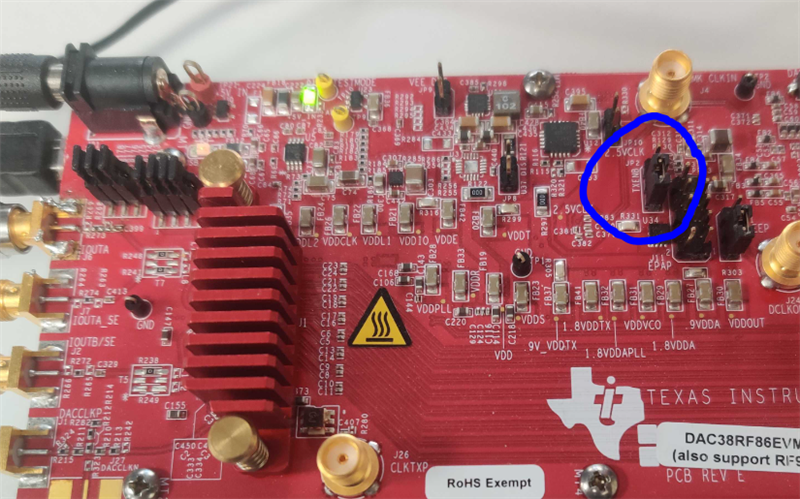
After this, we used the attached ppt presentation provided by TI support forums as reference by @jim s for using on board VCXO clock mode ( CMODE 4) for generating a 100 MHz sinusoidal wave. Is this ppt presentation correct or do we need to do additional settings to get the pattern out.
Thanks a lot for your consideration and looking forward to your response.
Thanks and Regards,
Vaibhav Jain