This thread has been locked.

If you have a related question, please click the "Ask a related question" button in the top right corner. The newly created question will be automatically linked to this question.

DLPDLCR2010EVM: How to put a batch files in the device

Part Number: DLPDLCR2010EVM

Hi,

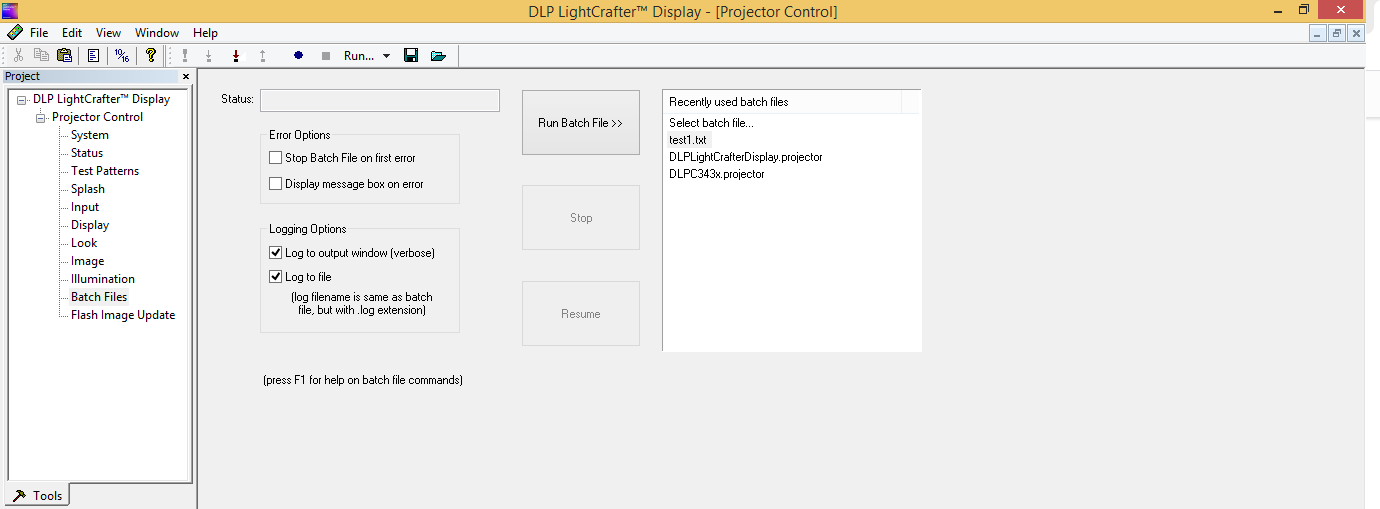
I'm working to blink the projection. Thus, i'm using this Batch files:

WRITE 36 54 00 00 01 03 00 00

WRITE 36 5 01

WRITE 36 b 01 00 00 ff

DELAY 250

WRITE 36 54 01 03 01 03 00 00

WRITE 36 d 1

WRITE 36 5 02

WRITE 36 35

WRITE 36 54 01 03 01 03 00 00

DELAY 250

CHAIN test1.txt

Where i swap a  black pattern and my image. It works when I used it in 'Batch Files" in the advanced modes.

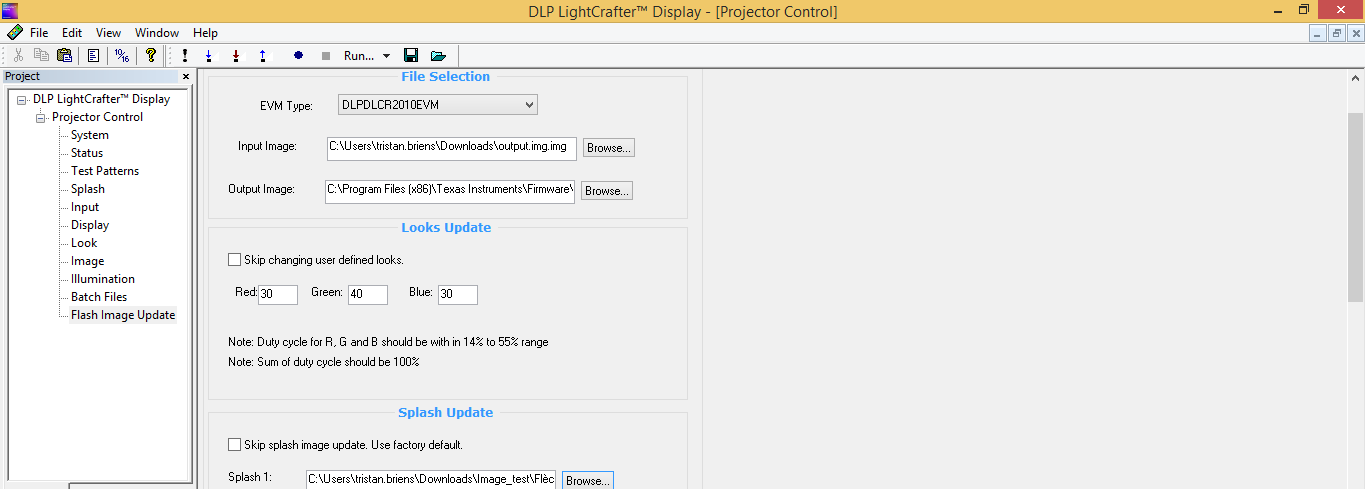
However, when I upload it in "Flash Image update" nothing happend..

Do you have an idea?

Best regards,

Tristan

  • Tristan,

    Can you describe in a bit more detail what procedure you are following? 

    Regards,

    Philippe Dollo

  • Hi Philippe,

    Thank you for your answer.

    Yes, this my procedure:

    Firstly, I'm going in the advanced mode

    I'm working on "test1.txt", and here it works perfectly.

    Then,I try to upload "test1.txt, on the firmware:

    I start to choose my input/ouput and my splash image. 

    (at this step, I tried to Update Flash, Update the firmware and it didn't work... Nothing is projected, however in the simple mode when I did that it works, I can project what i want)

    Finally, I choose "Test1.txt" in the Auto-init Update:

    After that, I click on Update Flash and I update the Firmware.

    My issue is that nothing is projected, even the splash image.

    I hope, I'm enough accurate and I apologize if I'm not.

    Regards,

    Tristan

  • Hello Tristan,

    Try checking the name for your input file. The name "output.img.img" may be causing an issue since the extension is in the name twice.

    Additionally, try giving your text file the .bf extension in place of .txt ("test1.bf").

    Please let us know if this resolves the issue.

    Regards,

    Austin

  • Hello Austin,

    I changed the name of the input file, and the .txt to 'test1'

    I still have the same issue, nothing is projected even the display patterns are no more projected.

    Regards,

    Tristan

  • Hi Tristan,

    We will look into this and get back to you soon.

    Thank you,

    Chris

  • Hi,

    ok thank you a lot!

    Regards,

    Tristan

  • I don't know if that can help, but I'm looking what happend on the LED, when I did my process.

    1) Trying to download a splash image in the advanced mode (Without put a batch files)

    D7 is ON.

    (D15/D16 also but I don't think it is necessary to mention)

    Thus the projector is ON and he normally should project something.

    2) Trying to upload a batch files (without a splash image using the factory default) in the advanced mode

    D7 and D15 are ON.

    Thus, the auto-initialization process is never over.

    3)Trying to upload a splash image and a batch files in the advanced mode

    It happen the same thing than in the 2).

    Regards,

    Tristan

  • Tristan,

    The syntax you are using in your batch file looks a bit strange. For reference, see the DLP LightCrafter GUI User's Guide:

    https://www.ti.com/lit/ug/dlpu021b/dlpu021b.pdf?

    The syntax for your batch file should appear like below. Note that I just pulled the example in the user's guide above. You will need to adapt this code for your application.

    ##################################### # SET UP SPLASH SOURCE # #####################################

    # Write: ImageCrop

    W 36 10 00 00 00 00 00 05 D0 02

    # Write: DisplaySize

    W 36 12 80 07 38 04

    # Write: InputImageSize

    W 36 2E 00 05 D0 02

    # Write: SplashScreenSelect

    W 36 0D 03

    # Write: InputSourceSelect

    W 36 05 02

    # 100 ms delay

    W 36 DB 64 00

    # Write: ImageOrientation

    W 36 14 00

    # WRITE LED CURRENT

    W 36 54 07 01 07 01 07 01

    # Write: WRITE LED ENABLE = 7. DISABLE = 0

    W 36 52 07

    # Write: SplashScreenExecute

    W 36 35

    I hope this helps.
    Regards,

    Philippe Dollo

  • Hi Philippe,

    Indeed, with the set-up it works better.

    However, now I have a new problem. The card don't read the command "GOTO Begin", when I upload it in the advanced mode. Do you know why?

    This is my code:

    Best regards,

    Tristan

  • Hello Tristan,

    What feedback are you getting that causes you to say the "GOTO Begin" command is not working? Is the file not looping, or is an error message displayed?

    You may want to try the other forms of the GOTO command mentioned in the EVM User's Guide found on page 15 such as "g begin" and "goto begin."

    Regards,

    Austin