Part Number: UNIFLASH
Other Parts Discussed in Thread: CC1310, LAUNCHXL-CC1310
Tool/software: Code Composer Studio
Hey guys,
we use uniflash 4.5.0 and I do have a few questions. We currently use the JTAG interface of a cc1310 launchpad board to flash our cc1310 sensor boards, which lack USB connectivity.
- We noticed that we have to reset our sensor boards manually after flashing to ensure code execution. Is this normal?
- I cannot set any "reset configuration" since IcePick tells me that there is no connection possible (however, flashing works). With other launchpad boards, which sitll have all there jumpers in place I can connect and choose options. Is this behavior due to the collector board being between uniflash and the sensor?
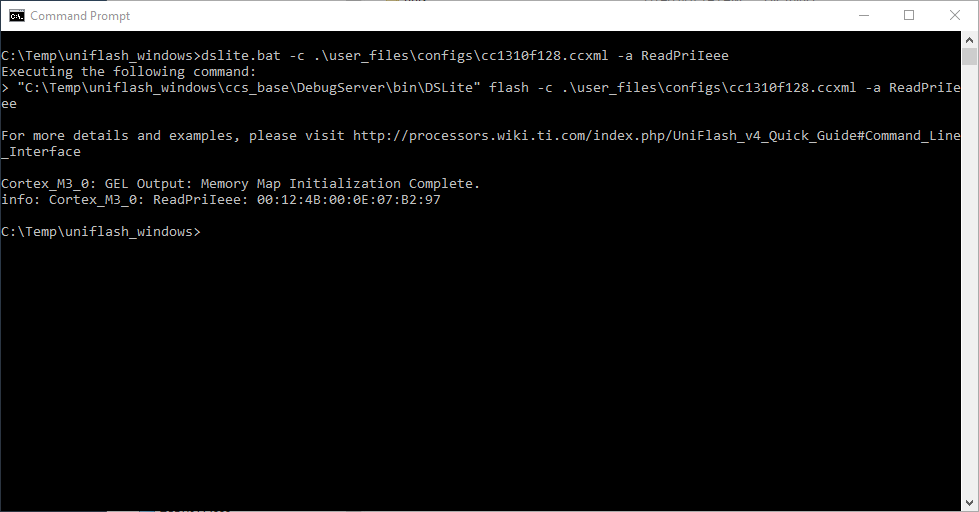
- Regarding CLI, I generated a zip however, I am not sure the correct settings are being applied in my script. Are all settings used which are set in uniflash under the "program" tab?
- How can I modify the script, so that the IEEE 1st MAC address is read and printed?
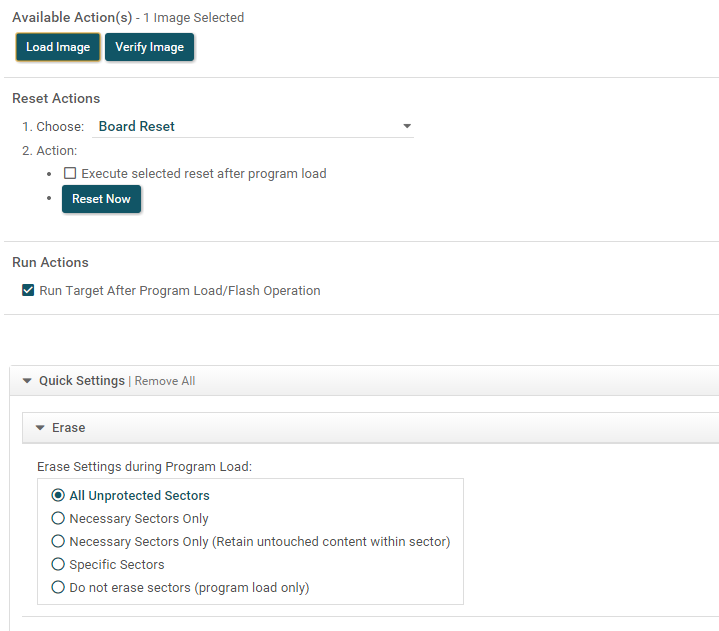
- Do you think erase of all unprotected areas and loading the program is sufficient or would you recommend a validation? How can I add a validation task to the CLI script?
I think this is currently all.
Best regards
Slev1n