This thread has been locked.

If you have a related question, please click the "Ask a related question" button in the top right corner. The newly created question will be automatically linked to this question.

TINA/Spice/NE5534: How to add the external compensation cap to a 5534 in TINA Spice?

Part Number: NE5534
Other Parts Discussed in Thread: TINA-TI,

Tool/software: TINA-TI or Spice Models

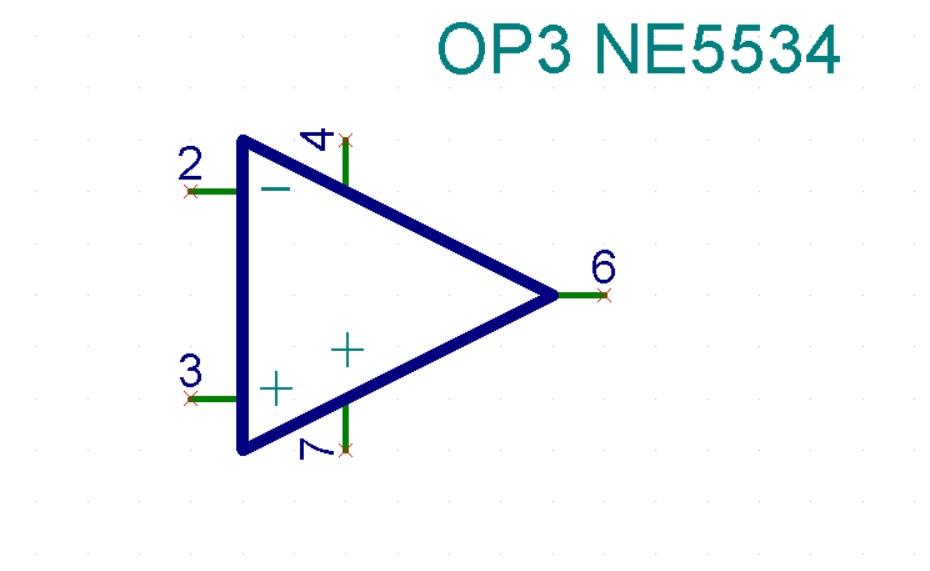
Hi, Im trying to simulate some circuits using the NE5534, however when used as a unity gain buffer it needs an external compensation cap which is connected between pins 5 and 8, however in the default symbol of the opamp there is no pin 5 or 8. How do I connect a capacitors to this pins?

Thanks

  • Hi Jose,

    When I open the file (the netlist text file), it says the following:

    * CONNECTIONS:   NON-INVERTING INPUT

    *                | INVERTING INPUT

    *                | | POSITIVE POWER SUPPLY

    *                | | | NEGATIVE POWER SUPPLY

    *                | | | | OUTPUT

    *                | | | | |  COMPENSATION

    *                | | | | | / \

    .SUBCKT NE5534   1 2 3 4 5 6 7


    So, give pin 6 and 7 a try.


    Herman


  • Hi Herman, thanks for your reply, the problem is that in the opamp symbol for the NE5534 there is no access to the pins you are refering to, here is an image of what im talking about, there are only 5 pins, not 7.

  • Hi Jose,

    I am not quite what's wrong with the symbol, but please follow the following steps to create your own symbol:

    1. Download the NE5534 file from the web and change the extension from
    NE5534.301 into NE5534.LIB

    2. Open TINA-TI
    3. Tools -> New Macro Wizard, name the Macro Name = NE5534

    4. From File -> Open the Folder
    5. Open the NE5534.LIB file and click NEXT

    6. Click on "Auto Generate Shape" (DO NOT use the pre-existing symbols through "Load Shape From Library")
    7. Click Next, Save, Insert into TINA schematic.

    8. If you don't like the shape of the symbol, you can modify it yourself by right click on the symbol you inserted and click Edit Symbol.

    9. Once you're done with your symbol editing, go to top right side and click the button
    a. Auto-Calculate sensing rectangle
    b. Add cursor sensing rectangle.

    10. Click Ok/Save and it will return from the symbol to the schematic view.
    11. Now your symbol is ready to be used.

    Herman
  • Thanks a lot Herman, that worked for me.